How To Make Cake Pops: Your Easy Guide To Sweet Treats At Home
Have you ever wished you could whip up those adorable, bite-sized cake pops you see at parties or your favorite coffee shop? It's actually a lot simpler than you might think, and honestly, making them yourself is incredibly rewarding. These sweet little treats are a party on a stick, and they bring a smile to just about anyone's face, whether they're for a special occasion or just a fun afternoon activity.
Learning how to make cake pops at home means you get to control every bit of the deliciousness. You can make them completely from scratch, with no box cake mix or canned frosting if that's what you like. Or, you can totally use a boxed cake mix and some ready-made frosting for a quicker way to get to the fun part. It's really up to you, and that's kind of the beauty of it.
This easy cake pop recipe can be customized with different flavors and decorations, so you're never stuck with just one idea. You can use it to make chocolate cake pops, Christmas cake pops, or even those starbucks copycat cake pops with vanilla cake mix and frosting. They are, you know, a fantastic way to have some fun with any of your favorite cake recipes, and they truly satisfy everyone's sweet tooth.
Table of Contents
- What Makes Cake Pops So Great?
- Gathering Your Supplies: The Basics
- Starting Your Cake Pop Adventure: Step by Step
- Flavor Fun: Customizing Your Cake Pops
- Troubleshooting Common Cake Pop Issues
- Frequently Asked Questions About Cake Pops
What Makes Cake Pops So Great?
Cake pops have, you know, become a popular treat for parties, events, and even just a fun dessert at home. They are great for parties, and kids especially love them, but they’re usually made with leftover cake. This is the perfect way to make them when you don’t have any leftover cake to work with, which is often the case when you suddenly get the urge to make them. They are delicious as well and a lot more fun than just a slice of cake, in a way.
These sweet treats are made with cake, often vanilla cake, frosting, and some colorful candy melts or sprinkles. A ball of vanilla cake crumbs and frosting, with a white chocolate coating and topped with sprinkles, is just so appealing. They are easy to make and perfect as a treat or party favor, and they really do make any gathering feel a little more special, too.
My homemade cake pops are, you know, a fantastic way to have some fun with any of your favorite cake recipes. You can decorate them any way you like, which means endless possibilities for holidays or themes. They are, you know, basically a sweet treat consisting of cake that has been mixed with frosting and then shaped into a ball or other shape, then coated in chocolate or candy melts, and then put on a stick. It’s a pretty simple concept, but the result is always delightful.
Gathering Your Supplies: The Basics
First, in order to make cake pops at home, we need a base cake and a few other easy ingredients. You can use any flavor of boxed cake mix and frosting to make these, which is very convenient. Or, if you prefer, you can learn how to make homemade cake pops completely from scratch, with no box cake mix or canned frosting, which gives you more control over the taste, basically.
For a classic vanilla cake pop, you'll want a box of your favorite vanilla cake mix, plus the things needed to bake it, like eggs, oil, and water. You'll also need vanilla frosting – homemade buttercream is great, but store-bought works just fine, you know. Colorful candy melts are a must for dipping, and fun sprinkles are for the perfect finishing touch. That’s pretty much the core of what you’ll need.
Beyond the main ingredients, you'll need some basic kitchen tools. A large bowl for mixing, a baking pan for your cake, and a sturdy spoon or your hands for crumbling the cake. Cake pop sticks are obviously essential, and some parchment paper for cooling the dipped pops. A deep, narrow glass or mug for dipping the cake pops helps a lot, too, in a way.
Starting Your Cake Pop Adventure: Step by Step
Making cake pops is, honestly, a process with a few distinct steps, but each one is pretty straightforward. You'll see that once you get the hang of it, you'll be making these delightful treats all the time. It’s a bit like a fun little craft project, basically, that you can also eat. We’ll go through each part, so you know just what to do.
Baking and Cooling Your Cake
The very first step is to bake the cake. If you're using a boxed cake mix, just follow the directions on the package. You can use any flavor you like, but vanilla or chocolate are very popular starting points. Once the cake is baked, let it cool completely. This part is important; if the cake is warm, it will make the next steps much harder, and it might not mix right, you know.
Once your cake is fully cooled, you'll need to prepare it for crumbling. Some people will cut the cake into pieces to help it cool faster, which is a good idea. Make sure it's not even a little bit warm to the touch before you move on. This cooling step really helps with the texture of the cake pop dough later on, so be patient, basically.
If you happen to bake a whole cake and only need half for your cake pops, you can freeze one half for future use, which is pretty handy. This way, you’re always ready to make more cake pops whenever the mood strikes. It’s a good tip for planning ahead, actually, especially if you like to have ingredients ready to go.
Creating the Cake Pop Dough
Now, this is where the magic really starts to happen. Step 4 is to take your cooled cake and put it in a large bowl. Use your hands to crumble the cake until no large chunks remain. You want it to be a fine crumb, like sand, or very small bits, you know. This makes sure your cake pops have a smooth texture.
Next, you'll add your frosting to the crumbled cake. If you’re making these cake pops without frosting, you’re likely using only a doctored cake mix to make the dough, which means adding other liquids or fats to the mix itself to get the right consistency. But for most cake pops, you’ll add frosting. Start with a little bit of frosting, maybe half a can or a few spoonfuls of homemade, and mix with your fingers until well combined.
The goal here is to get a mixture that holds together when you press it, but isn't too wet or sticky. You might need to add a little more frosting, a spoonful at a time, until you reach that perfect consistency. It should be like a thick dough that you can roll into a ball easily. This part takes a little bit of feeling it out, you know, but you’ll get the hang of it.
Shaping Your Cake Balls
Once your cake and frosting mixture is just right, it’s time to shape them into balls. Take a small amount of the mixture and roll it between your palms to form a smooth ball. Try to make them all about the same size, so they look uniform and cook evenly, basically. A cookie scoop can help you get consistent sizes, which is quite useful.
Place the rolled cake balls on a baking sheet lined with parchment paper. This keeps them from sticking and makes them easy to handle later. It’s pretty important to make sure they are somewhat firm before the next step, you know. If they are too soft, they might fall apart when you try to put them on sticks.
You can make them as big or as small as you like, but typically, a cake pop is about 1 to 1.5 inches across. This size is good for a single bite, which is what cake pops are often meant to be. Just keep rolling until you've used up all your cake mixture. It can be a little messy, but it’s part of the fun, basically.
Chilling the Cake Balls
After you’ve rolled all your cake balls, they need to chill. This step is super important for making sure your cake pops stay on their sticks and don't fall apart when you dip them. Put the baking sheet with the cake balls into the refrigerator for at least 15-20 minutes, or even the freezer for about 10 minutes if you’re in a hurry, you know.
While the cake balls are chilling, you can get your candy melts ready. Melt your colorful candy melts according to the package directions. This usually involves heating them gently in the microwave or over a double boiler. You want the candy melts to be smooth and fluid, not too thick, because that will make dipping much easier, honestly.
Once the cake balls are firm, take them out of the fridge or freezer. This chill time helps them hold their shape and prevents them from crumbling when they meet the warm candy coating. It’s a very important step that makes a big difference in the final product, basically.
Dipping and Decorating
Now for the really fun part: dipping and decorating! Take one cake pop stick and dip the very tip into the melted candy melts, just about half an inch. Then, gently push the stick into the center of a chilled cake ball, about halfway through. The melted candy acts like a glue to secure the cake ball to the stick, which is pretty clever, you know.
Once all your cake balls have sticks, put them back in the fridge for another 5-10 minutes to let that "glue" set. This prevents the cake ball from slipping off the stick when you dip the whole thing. It’s a small step that saves a lot of frustration, basically. You want those sticks to be firmly attached.
When the sticks are set, it's time for the full dip. Dip each cake pop into the melted candy melts, coating it completely. Gently tap off any extra coating. You can twirl it a little bit to get an even layer. Then, quickly add your sprinkles or other decorations before the coating sets. These starbucks copycat cake pops are made from vanilla cake mix and frosting, colorful candy melts, and fun sprinkles for the perfect look, you know. Place them stick-side up in a styrofoam block or a tall glass to dry completely. This might take a little while, but they'll be worth the wait.
Flavor Fun: Customizing Your Cake Pops
One of the best things about learning how to make cake pops is how much you can change them up. This easy cake pop recipe can be customized with different flavors and decorations, which means endless possibilities. You can use it to make chocolate cake pops, Christmas cake pops, or even birthday cake pops with fun colors, you know. It’s all about what you like.
For chocolate cake pops, simply use a chocolate cake mix and chocolate frosting. Then, dip them in dark or milk chocolate candy melts for a rich, decadent treat. You could even add some cocoa powder to the cake mix for an extra deep chocolate flavor, which is a nice touch. They are very popular, basically.
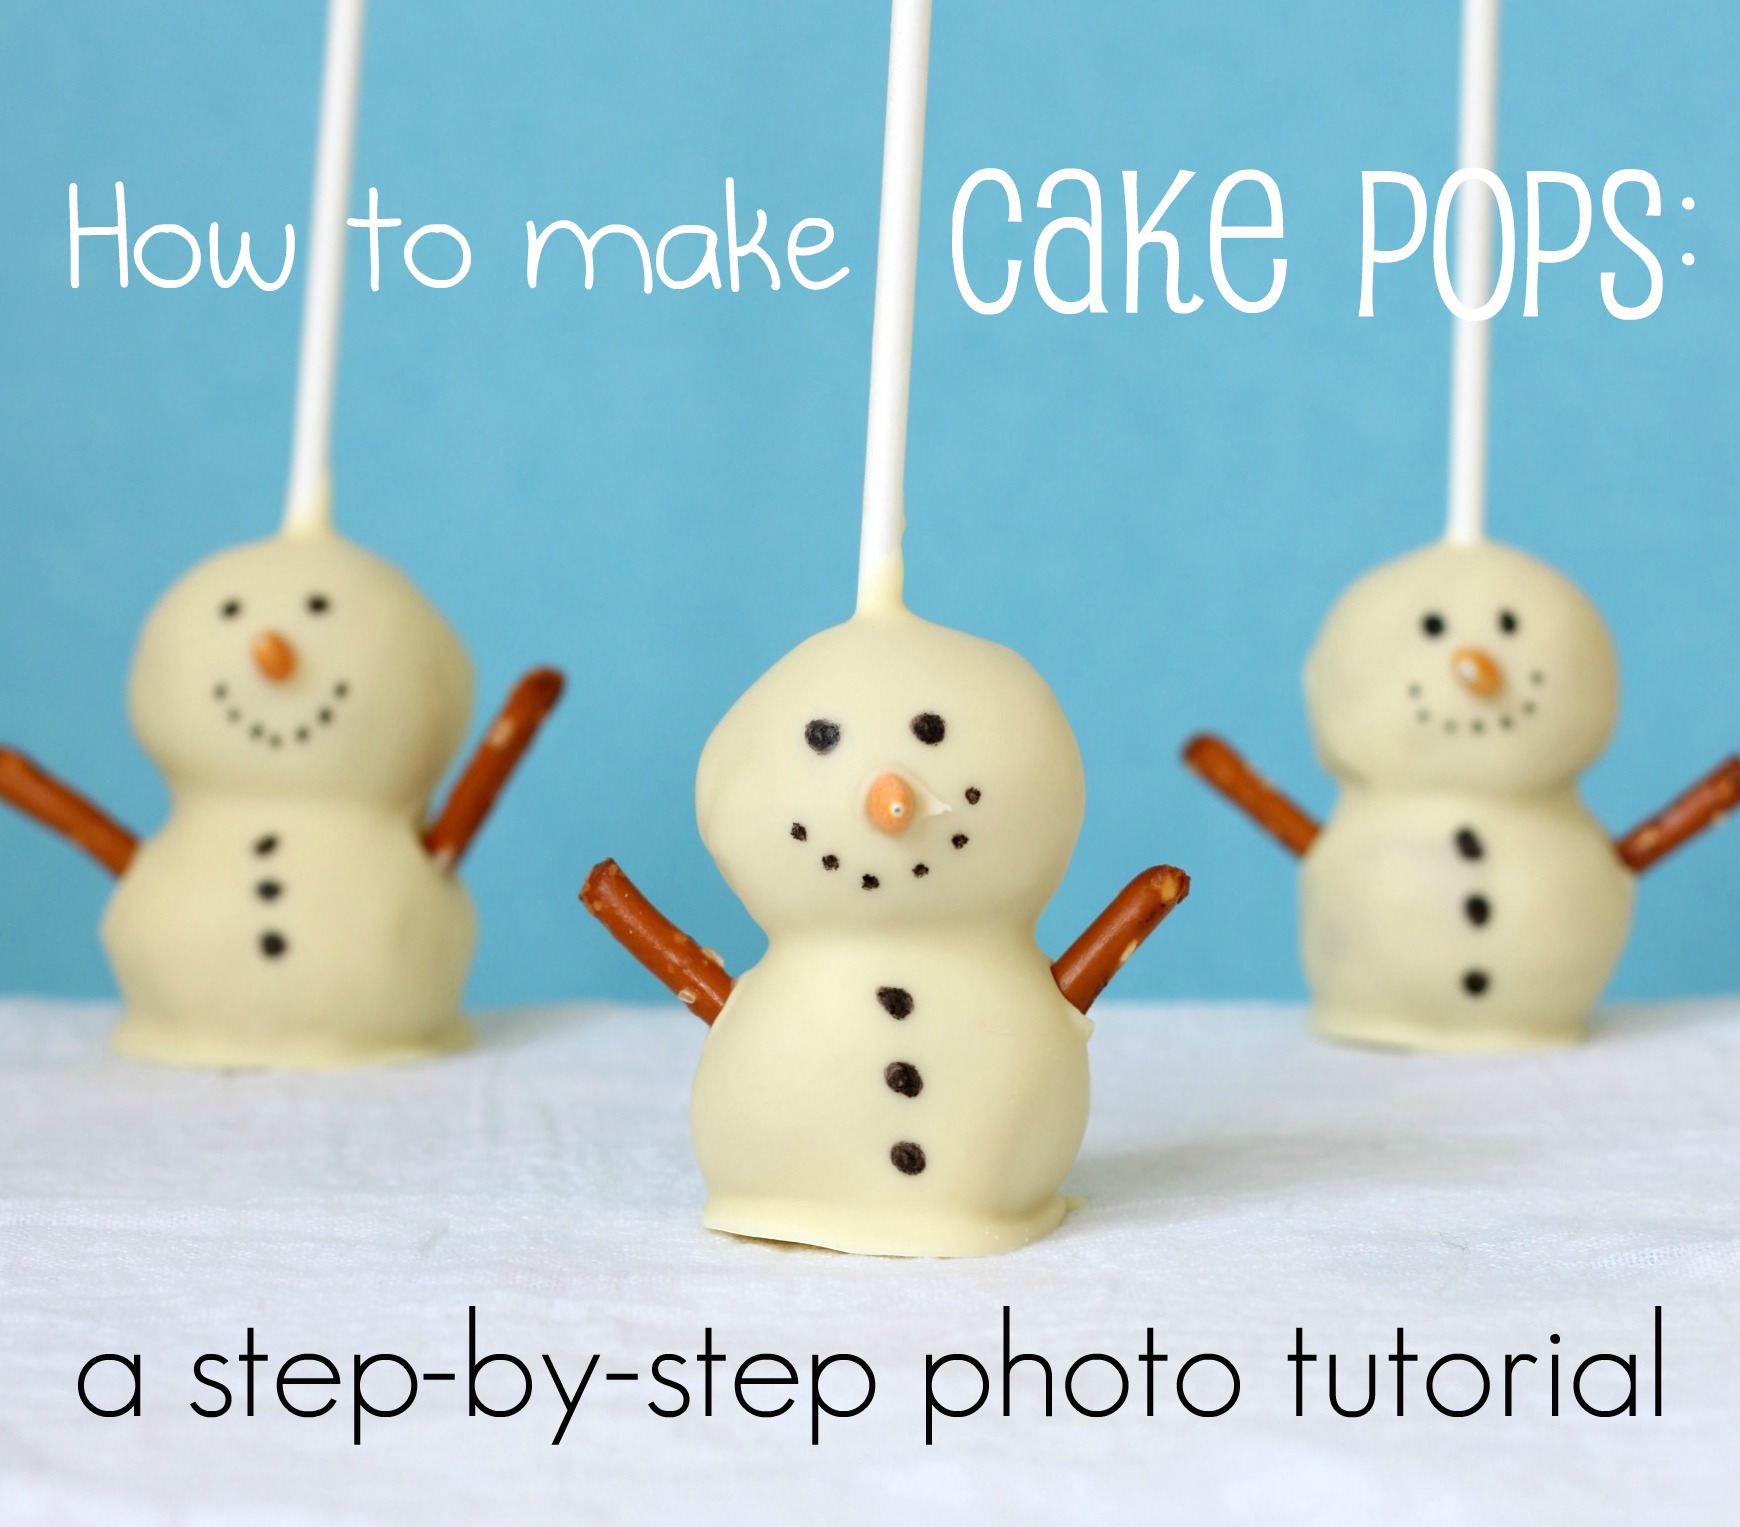
If you want to make Christmas cake pops, you can use a vanilla cake base and color your frosting green or red. Then, dip them in white candy melts and add festive sprinkles, like tiny snowflakes or red and green sugar. You could even add a little peppermint extract to the cake or frosting for a holiday twist, which is pretty cool. The possibilities are truly wide open, basically.
These fun cake pops are easy to make and great for parties, and you can really get creative with them. For instance, you could use a lemon cake mix and lemon frosting, then dip them in yellow candy melts. Or, for a very different flavor, try a red velvet cake with cream cheese frosting, then coat them in white chocolate. My homemade cake pops are a fantastic way to have some fun with any of your favorite cake recipes, honestly, and they always satisfy.
Troubleshooting Common Cake Pop Issues
Sometimes, when you’re learning how to make cake pops, you might run into a few little issues. But don't worry, these are usually easy to fix, and knowing what to look for helps a lot. It’s all part of the baking adventure, you know, and everyone has a little learning curve when they try something new. We'll go over some common things that might pop up.
One common problem is cake balls falling off the stick. This usually happens if the cake balls weren't chilled enough, or if the melted candy "glue" on the stick wasn't fully set before dipping. Make sure your cake balls are very firm and the candy on the stick is completely dry before you try to dip the whole thing. That little bit of extra chill time makes a big difference, honestly.
Another issue can be the candy coating cracking after it dries. This often happens if the cake balls are too cold when they hit the warm candy melts, causing a sudden temperature change. Try letting your chilled cake balls sit out for just a few minutes before dipping, so they aren't quite so icy cold. Also, make sure your candy melts aren't too hot or too thick, as that can also cause cracking, you know.
If your cake pop mixture is too sticky or too crumbly, that’s usually about the frosting amount. If it’s too sticky, you might have added too much frosting; you can try adding a little more crumbled cake to balance it out. If it’s too crumbly, you need more frosting, just a tiny bit at a time, until it holds together well. It’s a bit of a feel, but you'll get it. You want that dough-like consistency, basically.
Sometimes, the coating can be too thick. This happens if your candy melts are not quite fluid enough. You can thin them out with a tiny bit of vegetable shortening or a special candy thinning product, but add it very slowly, just a little at a time, until it reaches the right consistency. A good consistency lets the extra coating drip off easily, which gives you a smooth finish, you know. Watch the video for all my best tips, basically, as seeing it done can really help.
Frequently Asked Questions About Cake Pops
People often have questions when they are learning how to make cake pops. Here are some common ones that come up, and some helpful answers to guide you on your way to perfect treats. It's totally normal to wonder about these things, basically, as you get started.
Can I make cake pops without frosting?
Yes, you can actually make cake pops without frosting! This easy cake pops without frosting recipe uses only a doctored cake mix to make the dough. This means you might add things like cream cheese, condensed milk, or even a bit of butter to the cake crumbs to get that sticky, moldable texture without traditional frosting. It’s a slightly different approach, but it works, you know, for a tasty treat.
How long do cake pops last?
Cake pops can last for several days if stored properly. They are best kept in an airtight container in the refrigerator, where they will stay fresh for about a week. If you need them to last longer, you can freeze them for up to a month. Just make sure they are well wrapped to prevent freezer burn, which can affect the taste and texture, basically.
What kind of cake is best for cake pops?
You can use any flavor of boxed cake mix or a homemade cake to make these. Vanilla cake is a very popular choice because it’s a good base for many different decorations and flavors. Chocolate cake also works wonderfully. The key is to make sure the cake is completely cooled before you start crumbling it, so it mixes well with the frosting, you know. Any sturdy cake will do, honestly, as long as it’s not too moist or too dry.
For more baking inspiration and delicious dessert ideas, learn more about sweet treats on our site. You can also find tips for other fun party foods on this page that talks about cake decorating.
How to make cake pops | 52 Kitchen Adventures

Easy Cake Pop Recipe - Tastefully Grace

How to Make Birthday Cake Pops (with Pictures) - wikiHow
