How To Use SSH IoT Over Internet AWS: A Practical Guide
Connecting to your Internet of Things (IoT) devices from anywhere in the world feels like a superpower, doesn't it? In a way, it truly is. As more and more everyday items become smart and connected, the ability to check on them, update their software, or fix little issues remotely becomes incredibly useful. This kind of remote access, especially for devices tucked away behind firewalls, can seem a bit tricky at first, you know?
Think about all those tiny computers, like a Raspberry Pi, doing important jobs in places you can't easily get to. Maybe it's a sensor in a faraway field, or a smart gadget in your home office. Getting into these devices securely, over the vast expanse of the internet, is a big deal. That's where a combination of familiar tools like Secure Shell (SSH) and powerful cloud services from Amazon Web Services (AWS) comes into play, offering a very solid way to work with things from afar.
This guide will walk you through how to use SSH IoT over the internet with AWS, making remote device management not just possible, but also quite straightforward and secure. We'll explore how AWS IoT Secure Tunneling helps you establish a secure connection, even when your devices are behind strict network rules, without you needing to fuss with your existing firewall settings. So, let's get into how you can put these services to good purpose.
Table of Contents
- Why Remote Access Matters for IoT
- AWS IoT Secure Tunneling: Your Remote Connection Helper
- The Essential Components for Your Setup
- Getting Your Tools Ready: Prerequisites
- Setting Up AWS IoT Secure Tunneling: Step-by-Step
- Other Ways to Access Your IoT Devices Remotely
- Keeping Your Connections Safe: Security Advice
- Frequently Asked Questions
Why Remote Access Matters for IoT
As the Internet of Things keeps growing, being able to reach your devices from a distance becomes a really important need for businesses and even for people at home. Imagine having to drive to a remote location just to restart a sensor or check a log file. That's not very efficient, is it? Secure remote access to IoT devices using SSH has become a critical requirement for modern operations.
These devices are often deployed in tricky spots, like behind firewalls or in private networks, making direct connections tough. So, having a way to manage them over the internet, without opening up your network to risks, is pretty much essential. This is where cloud services, like those offered by AWS, can really help you out.
It’s about putting a tool to a particular purpose. We want to put SSH into service to attain an end: managing our IoT devices from anywhere. This means we're looking for a convenient and secure way to interact with them, which is exactly what remote SSH methods offer, especially for devices that are often deployed in out-of-the-way places.
AWS IoT Secure Tunneling: Your Remote Connection Helper
One of the coolest features AWS offers for this exact challenge is AWS IoT Secure Tunneling. This service helps customers establish bidirectional communication to remote devices that are behind a firewall. What's more, it does this over a secure connection that AWS IoT manages for you. You don't have to worry about updating your existing inbound firewall rules, which is a pretty big deal, honestly.
This feature, launched a while back as part of AWS IoT Device Management, gives you a secure remote access solution that works directly with AWS IoT. It lets you reach your IoT devices from wherever you are, which is super helpful for maintenance, troubleshooting, and updates. It’s about making something serve your purpose, and in this case, it's securely connecting to your devices.
Secure tunneling effectively creates a private pathway through the internet to your device, even if it's tucked away. It's like having a secret, secure tunnel that goes right to your device, bypassing all those usual network hurdles. This means you can use your familiar SSH tools to connect, just as if the device were sitting right next to you, which is very convenient.
The Essential Components for Your Setup
To get this whole system working, you'll be using a few key pieces of technology together. The combination of something like a Raspberry Pi, Secure Shell (SSH), AWS IoT, and perhaps a Virtual Private Cloud (VPC) if you're managing things from a central server, makes for a very solid way to work with things from afar. Let's break down what each part does.
Secure Shell (SSH)
SSH is a network protocol that lets you operate network services securely over an unsecured network. It's widely used for remote command-line access and other secure network services. For our purposes, it's the tool we'll use to actually send commands to and receive information from our IoT device. It’s a bit like using a tool for a particular purpose, like a saw for cutting wood, but for remote computing.
AWS IoT Core
This is AWS's managed cloud service that lets connected devices interact with cloud applications and other devices. It's the central hub for managing your IoT devices, and it's where you'll set up and manage the secure tunnels. It acts as the go-between for your devices and your management tools, making sure everything communicates safely.
Raspberry Pi or Similar IoT Device
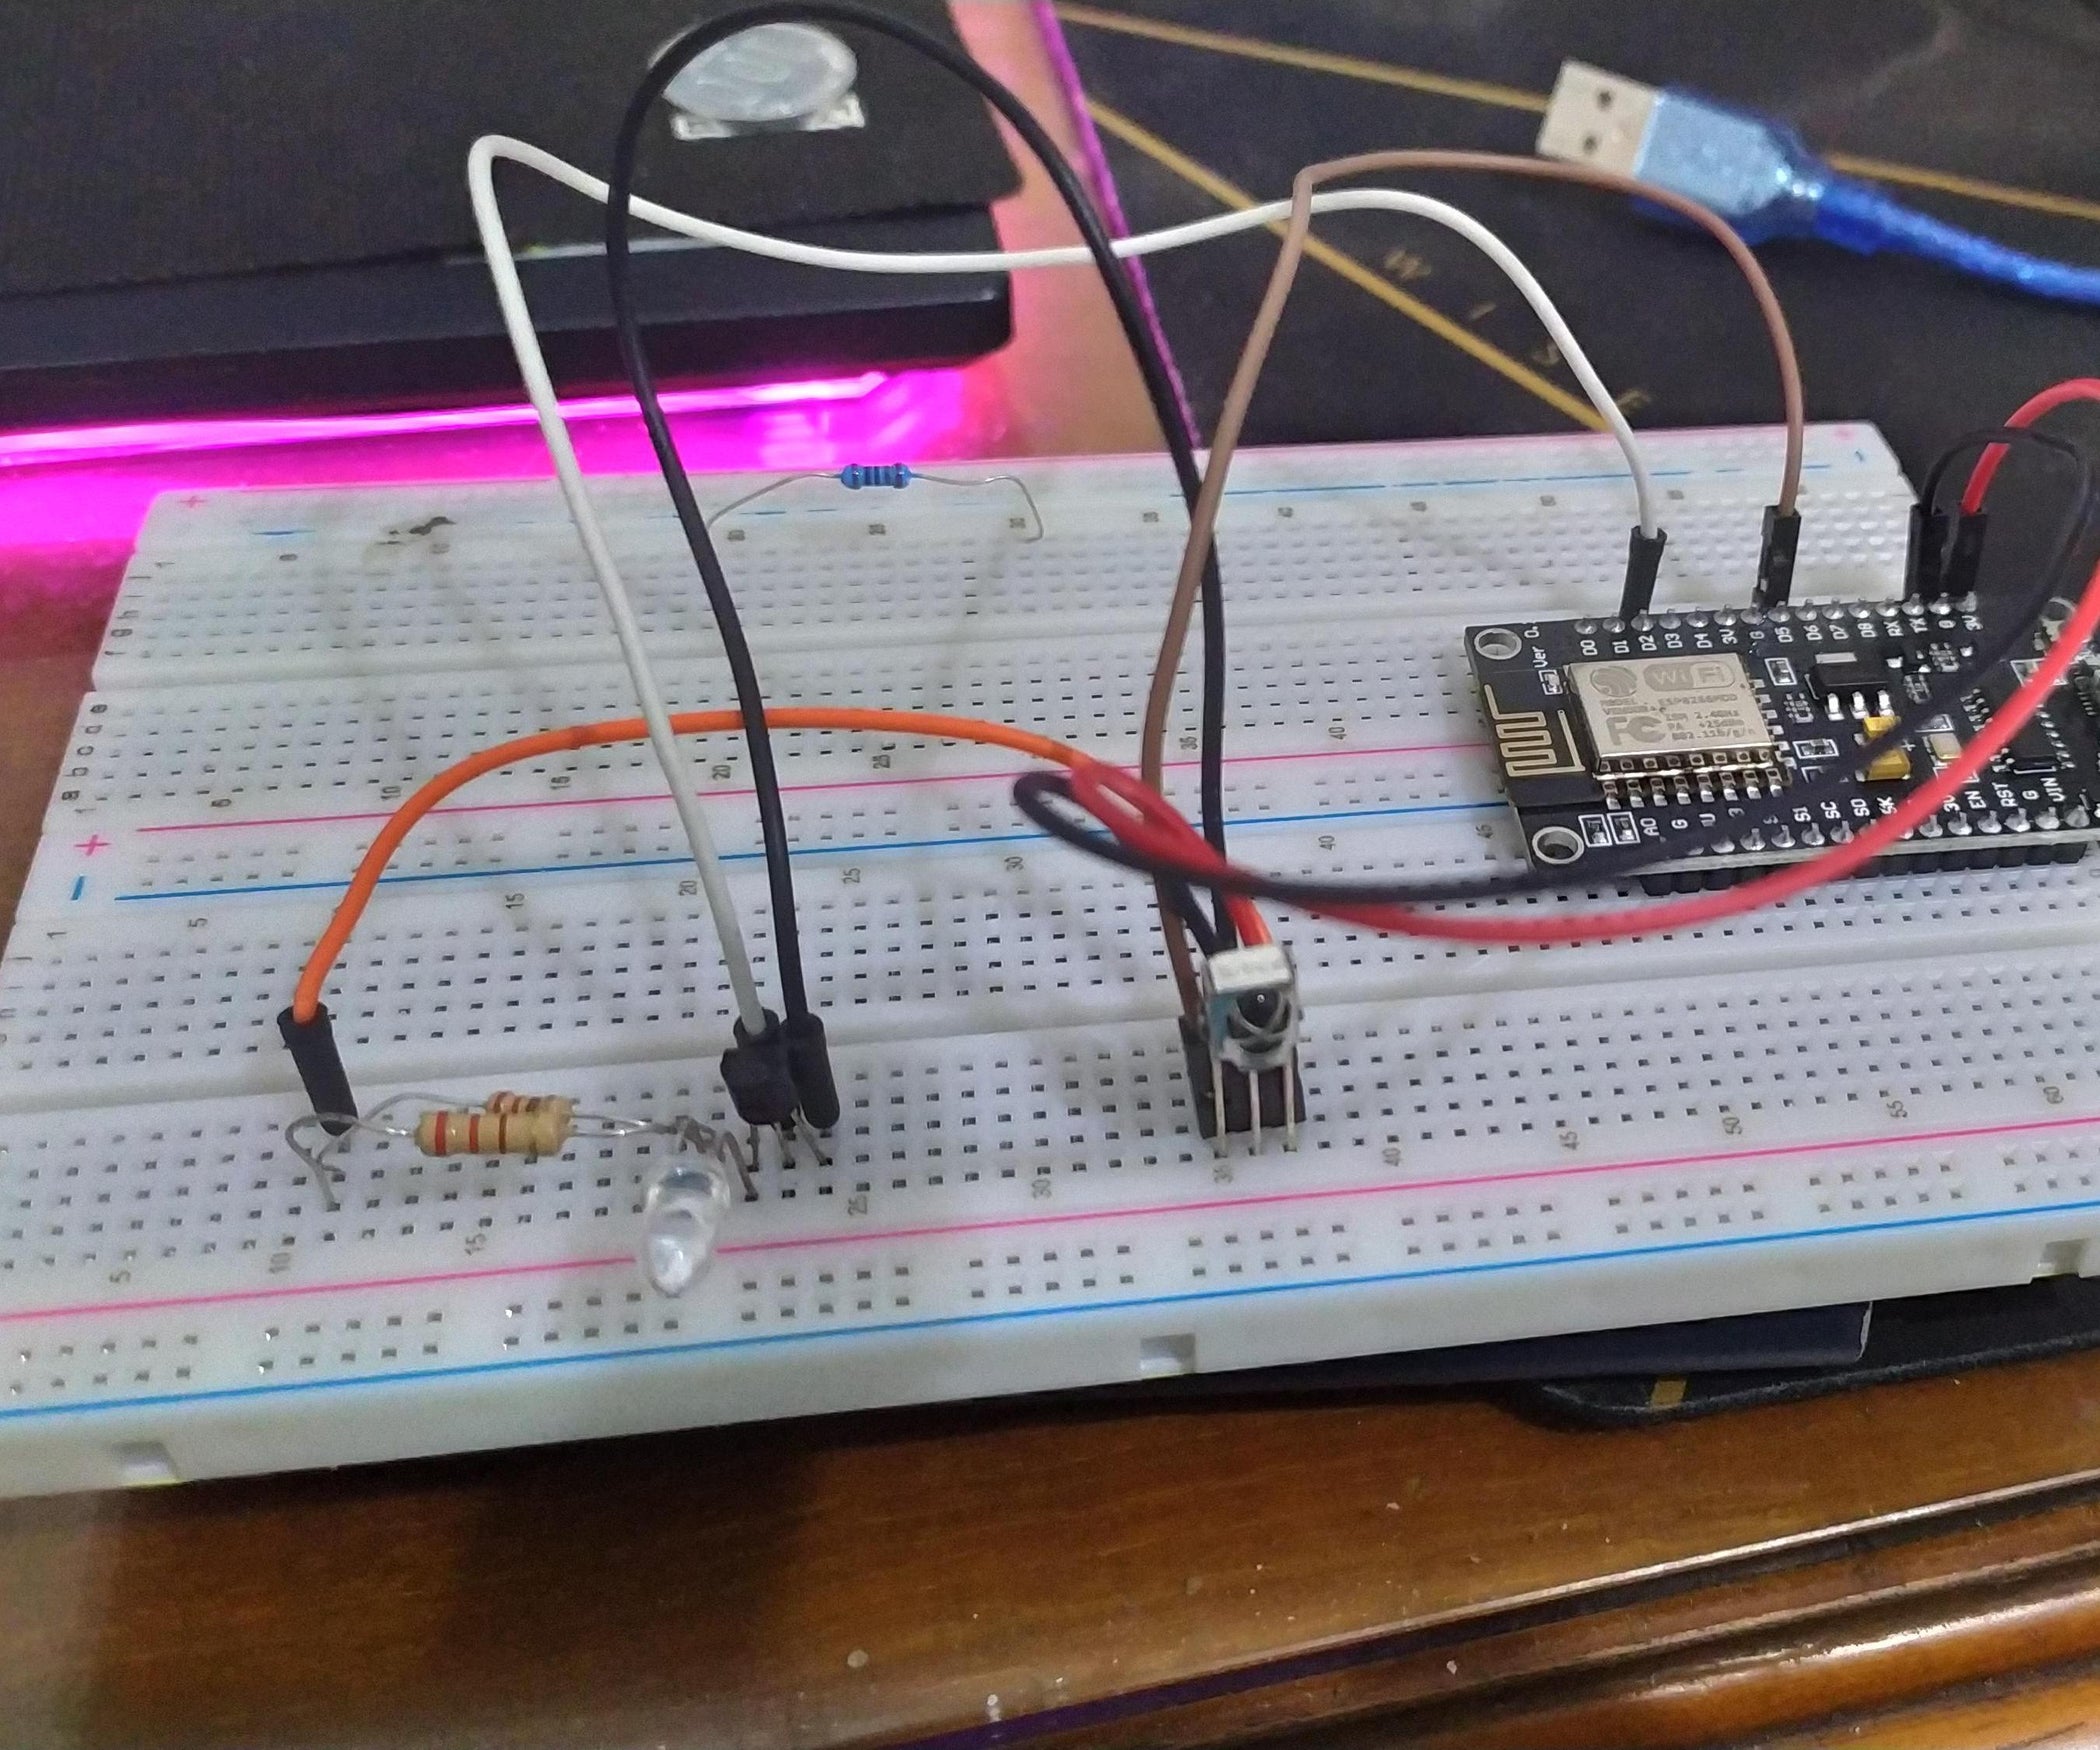
This is your actual "thing" in the Internet of Things. It could be a Raspberry Pi, an ESP32, or any other small computer capable of running an operating system and connecting to the internet. This device will have the software needed to establish its end of the secure tunnel. You'll put this device into service to attain your end of remote control.
Virtual Private Cloud (VPC)
While not always strictly necessary for basic tunneling, a VPC in AWS provides a secure and isolated network environment. If you plan to manage many devices or have a central management server (like an EC2 instance) that will initiate SSH sessions through the tunnels, having it within a VPC adds an extra layer of organization and security. It's like having your own private network section within AWS.
RemoteIoT Platform
The "My text" mentions RemoteIoT, which is a platform that allows developers to connect to your IoT devices as an SSH client right in a web browser. This can be a handy alternative or complement to direct SSH tunneling, as the RemoteIoT web SSH client can access IoT devices from anywhere via a standard web browser. It's another way to make something serve your purpose of remote access.
Getting Your Tools Ready: Prerequisites
Before we jump into the steps, there are a few things you'll want to have in place. These are the basic requirements to get started with SSH IoT over the internet with AWS. You'll need an AWS account, of course, and a device ready to connect.
- An AWS Account: Make sure you have an active AWS account. You can use the AWS Free Tier for some services, which is pretty nice for experimenting.
- An IoT Device: This is your Raspberry Pi or similar device. It should be powered on, connected to the internet, and have SSH enabled. You'll also need to know its local IP address or hostname.
- AWS CLI or SDK: While you can create tunnels from the AWS IoT console, using the AWS Command Line Interface (CLI) or an AWS SDK can be more efficient for scripting or automated setups. Make sure it's installed and configured on your local machine or a management server.
- An SSH Client: You'll need an SSH client on your local computer. If you're on Linux or macOS, it's built-in. For Windows, you might use PuTTY or the built-in OpenSSH client in newer versions.
- Basic AWS Knowledge: This tutorial is designed to be beginner-friendly, but a little familiarity with AWS concepts helps, you know?
Having these items ready will make the process much smoother. It's about having all your instruments prepared before you start playing the music, so to speak.
Setting Up AWS IoT Secure Tunneling: Step-by-Step
Now, let's get into the practical side of things. We'll walk through the process of setting up AWS IoT Secure Tunneling to reach your remote device. This involves a few operations, and we'll go through them one by one.
Step 1: Prepare Your IoT Thing in AWS
If you haven't already, you'll need to register your IoT device as an "IoT Thing" in AWS IoT Core. This involves giving your device an identity within AWS and setting up its security credentials, like certificates and policies. This is basically how AWS recognizes your device and allows it to communicate.
You'll use the AWS IoT console to do this. It's a fairly guided process, and you'll end up with a "Thing" entry that represents your physical device. This step is about putting your device into service within the AWS ecosystem, so to speak.
Step 2: Create a Secure Tunnel in the AWS IoT Console
This is where the magic happens for the connection. From the AWS IoT console, you can create a tunnel either from the "Tunnels" hub or directly from the details page of an IoT thing that you created. When you create a tunnel from the tunnels hub, you'll specify the IoT thing it's for.
You'll need to specify a "destination" port for the tunnel, which will typically be port 22 for SSH. AWS will then give you a "client access token" for both the local side (your computer) and the remote side (your IoT device). These tokens are super important for establishing the secure connection, so keep them safe, obviously.
This action of creating a tunnel is essentially telling AWS to prepare a secure pathway for your device. It's like setting up a special line just for your device to communicate through, and it's managed by AWS IoT.
Step 3: Understand the Tunneling Process
AWS IoT Secure Tunneling works by using two proxy agents: a local proxy and a remote proxy.
- Local Proxy: This runs on your local computer (or a management server). It takes your SSH traffic and sends it securely to AWS IoT.
- Remote Proxy: This runs on your IoT device. It receives the traffic from AWS IoT and forwards it to the SSH server running on your device.
The secure connection is managed by AWS IoT, which means the data flows through AWS's infrastructure securely. This is why you don't need to mess with your inbound firewall rules. The whole system is designed to make something serve your purpose of secure remote access, without the usual network headaches.
Step 4: Configure Your IoT Device for Tunneling
Your IoT device (like a Raspberry Pi) needs to run the remote proxy agent. This agent will use the remote client access token you got from AWS to connect to the tunnel. You'll typically download a small application provided by AWS for this purpose.
You'll usually run a command on your Raspberry Pi that looks something like this (this is a simplified example, refer to AWS docs for exact commands as of May 2024):
./aws-iot-secure-tunneling-agent -t <REMOTE_ACCESS_TOKEN> -p 22This command tells your device to start listening for the tunnel connection on port 22 (the SSH port) using the provided token. It's putting the device into action to receive the connection.
Step 5: Connect via SSH Through the Tunnel
With the remote proxy running on your device, you can now connect from your local machine. You'll use the local client access token and a local proxy application provided by AWS.
First, you'll start the local proxy on your computer:
./aws-iot-secure-tunneling-agent -t <LOCAL_ACCESS_TOKEN> -l 8022:localhost:22This command starts a local listener on port 8022 (you can choose any unused port). When you connect to `localhost:8022`, the local proxy will forward that traffic through the secure tunnel to your remote device's port 22.
Then, in a separate terminal window, you can SSH to your device through this local port:
ssh pi@localhost -p 8022And just like that, you're securely connected to your Raspberry Pi, even if it's behind a firewall, using SSH over the internet via AWS IoT. It's a pretty neat trick, honestly. For more detailed instructions on how to use the AWS Management Console to open a tunnel and start an SSH session, you can always check the official AWS documentation.
Other Ways to Access Your IoT Devices Remotely
While AWS IoT Secure Tunneling is a fantastic way to get SSH access, there are other methods and tools that can help you manage your IoT devices from afar. It's good to know your options, you know?
RemoteIoT Web SSH Client
As mentioned earlier, the RemoteIoT platform provides a web-based SSH client. This means you can access your IoT devices directly from a web browser, which is pretty convenient if you don't want to set up local proxy agents or if you're on a machine where you can't install software. It offers a way to connect from anywhere via a standard browser, which is quite flexible.
This approach uses a different underlying mechanism but still aims to make something serve your purpose of remote access. It's about finding the most suitable tool for the job, depending on your situation.
Using an EC2 Instance as a Jump Host
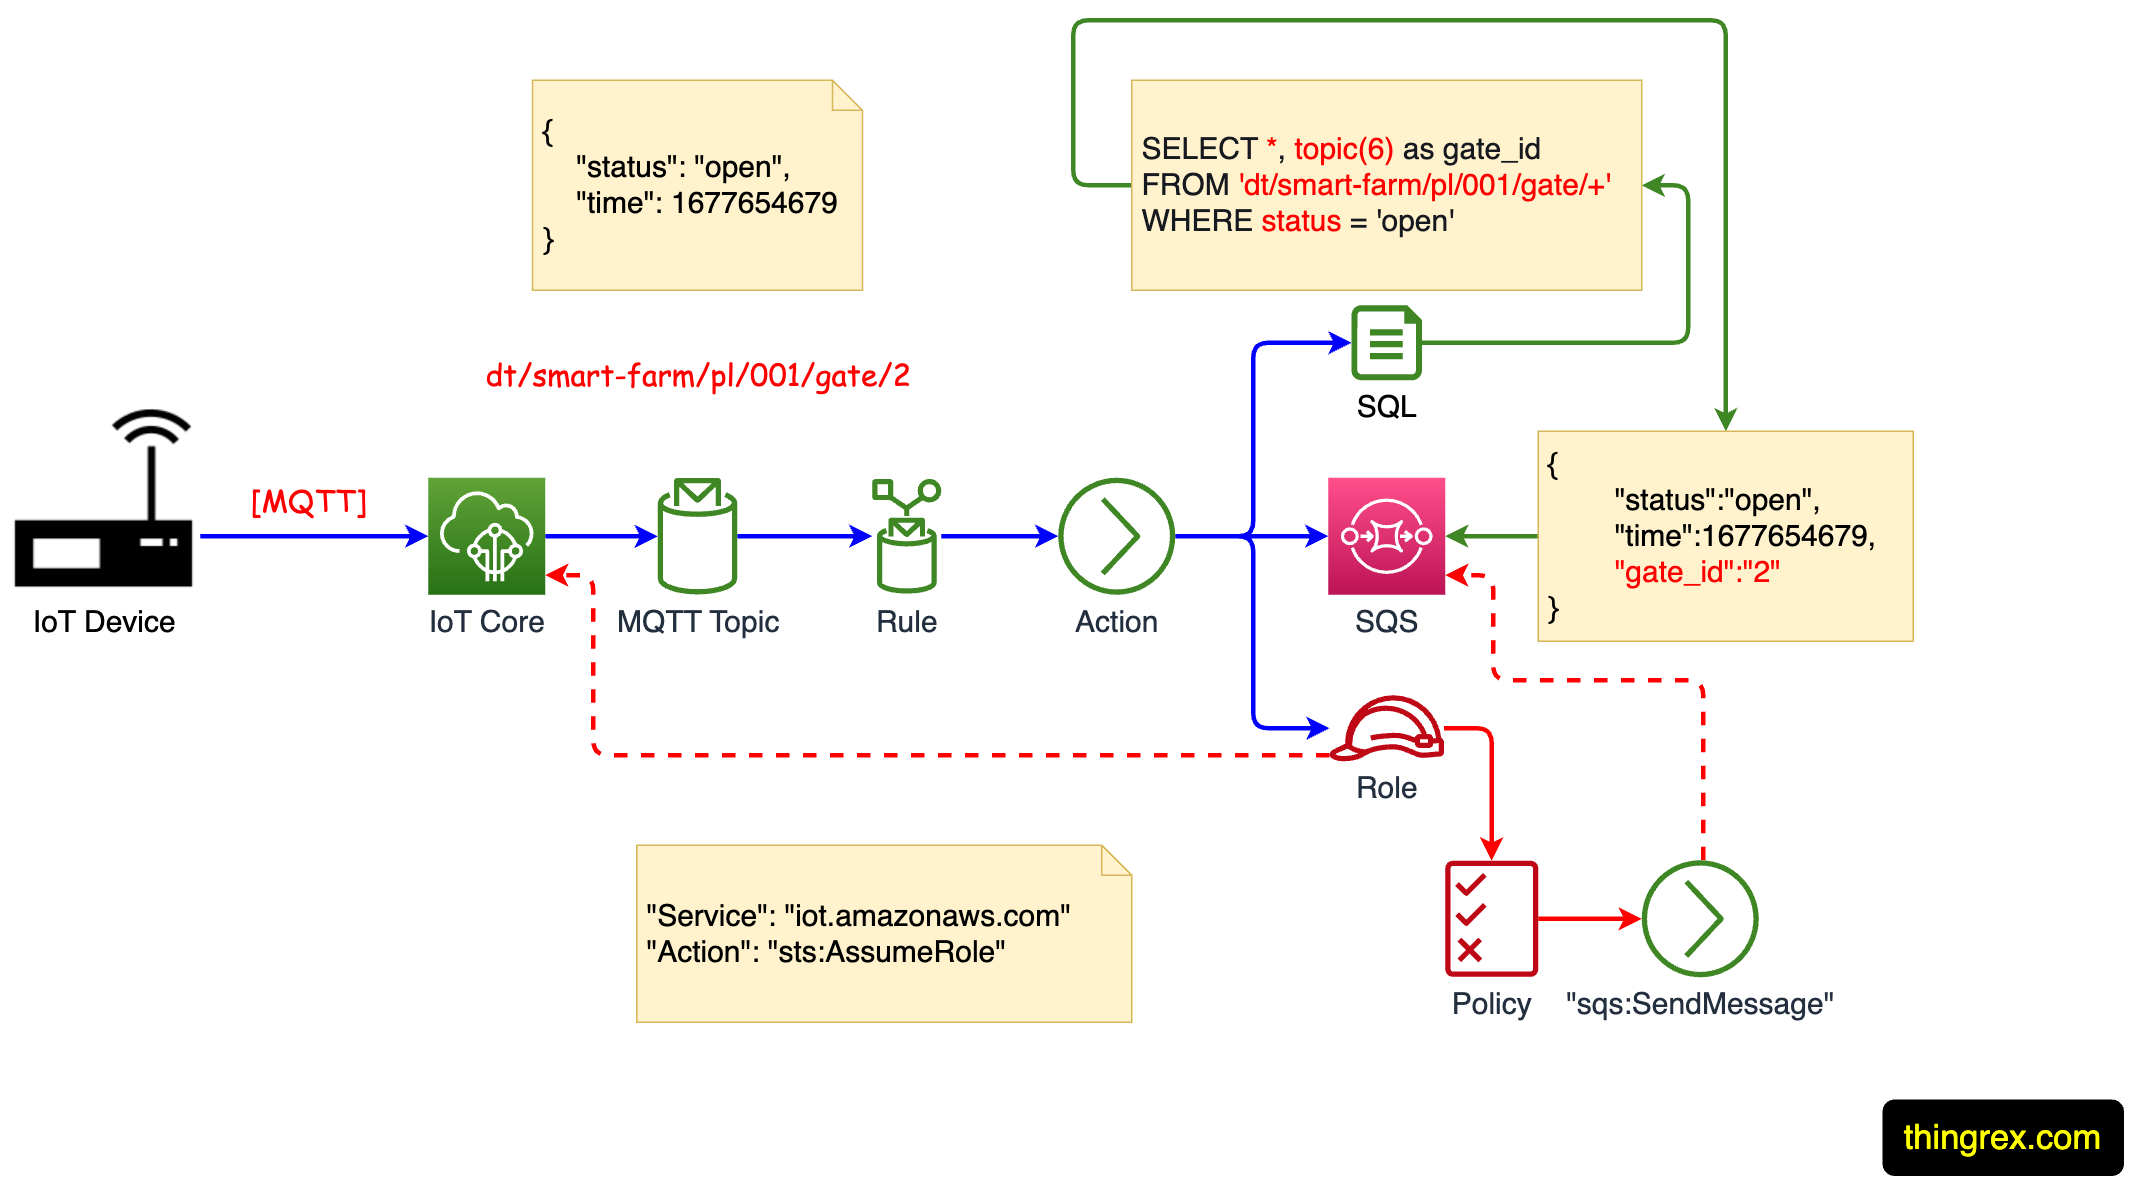
AWS IoT Rules Engine overview
Mastering Iot Ssh Download Aws A Comprehensive Guide - ACCDIS English

Mastering Remote SSH IoT Over Internet AWS Example: Your Ultimate Guide
