How To Clean Bathtub Stains: Get Your Tub Spotless Today
Is that a little bit of grime starting to cling to your bathtub? You know, the kind of stuff that just makes you feel a bit… well, not so clean? It's a common thing, really. After all, your bathtub sees a lot of action, from daily showers to relaxing soaks. Over time, things like soap residue, hard water minerals, and even some bits of mold can build up, leaving unsightly marks. It can be quite frustrating to look at a tub that just doesn't seem to sparkle anymore, no matter how much you rinse it.
A bathtub, you see, is a place where you go to get yourself free from dirt or pollution. It's meant to be a spot of hygiene, orderliness, and neatness, a place where you can truly feel refreshed. When it starts looking less than spotless, it takes away from that feeling, doesn't it? It's not just about how it looks, either; a tub that's not quite clean can harbor unwanted germs, which isn't ideal for a place you use for personal washing.
But don't you worry, because getting your bathtub back to being truly clean, free from any dirty marks or contamination, is absolutely doable. We're going to walk you through some really good ways to tackle those stubborn spots. We'll talk about what causes them, what you'll need, and how to make your tub shine again, just like those honest, timely, and thorough home cleaning services aim for. You'll have a tub that's free of contamination, pretty much.
Table of Contents
- Understanding Bathtub Stains: What Are They, Anyway?
- Getting Ready: Your Cleaning Toolkit
- General Steps for a Sparkling Tub
- Tackling Specific Stains Head-On
- Keeping Your Tub Clean for Longer
- Frequently Asked Questions About Tub Cleaning
Understanding Bathtub Stains: What Are They, Anyway?
Before we can really get rid of those bathtub stains, it helps to know what we're up against, doesn't it? Different kinds of dirt and pollution leave different kinds of marks. Knowing what type of stain you're looking at can help you pick the best way to clean it, so you're not just guessing. It's like, if you know what caused the mess, you can actually choose the right tool for the job, pretty much.
Common Culprits Behind Bathtub Grime
So, what exactly makes your bathtub look less than perfect? There are a few usual suspects, and they tend to leave their own unique calling cards. Understanding these helps a lot, you know, in figuring out how to make things spotless again. It's not always just one thing, but often a mix of stuff.
Soap Scum: This is probably the most common one, actually. It's that cloudy, somewhat greasy film that builds up. It happens when the fatty acids in your soap mix with the minerals in your water. Over time, it just sticks to the tub's surface, making it look dull. It's basically a combination of your body wash and the water, leaving a residue.
Hard Water Stains: If you live in an area with hard water, you'll know these. They show up as white, chalky spots or streaks. These are mineral deposits, mostly calcium and magnesium, left behind when water evaporates. They can be pretty stubborn, and they make your tub look like it has a strange coating. It's like the water itself leaves its mark.
Rust Stains: These are those reddish-brown marks. They usually come from leaky faucets, metal shaving cream cans left on the tub edge, or even old pipes. Rust can be tough to get rid of because it really sinks into the surface. It's a sign of metal reacting with water, and it's not a pretty sight, really.
Mold and Mildew: These are the black, pink, or greenish spots you might see, especially in damp, poorly ventilated areas. They are living fungi that thrive in moist environments. Not only do they look bad, but they can also be a health concern. They're a clear sign that your tub isn't free of contamination, as a matter of fact.
Yellowing and General Discoloration: Sometimes, tubs just start to look yellow or dull over time. This can be due to aging materials, certain chemicals in cleaning products, or even just general grime buildup that isn't specific to one type of stain. It's like the tub just loses its sparkle, pretty much, over the years.
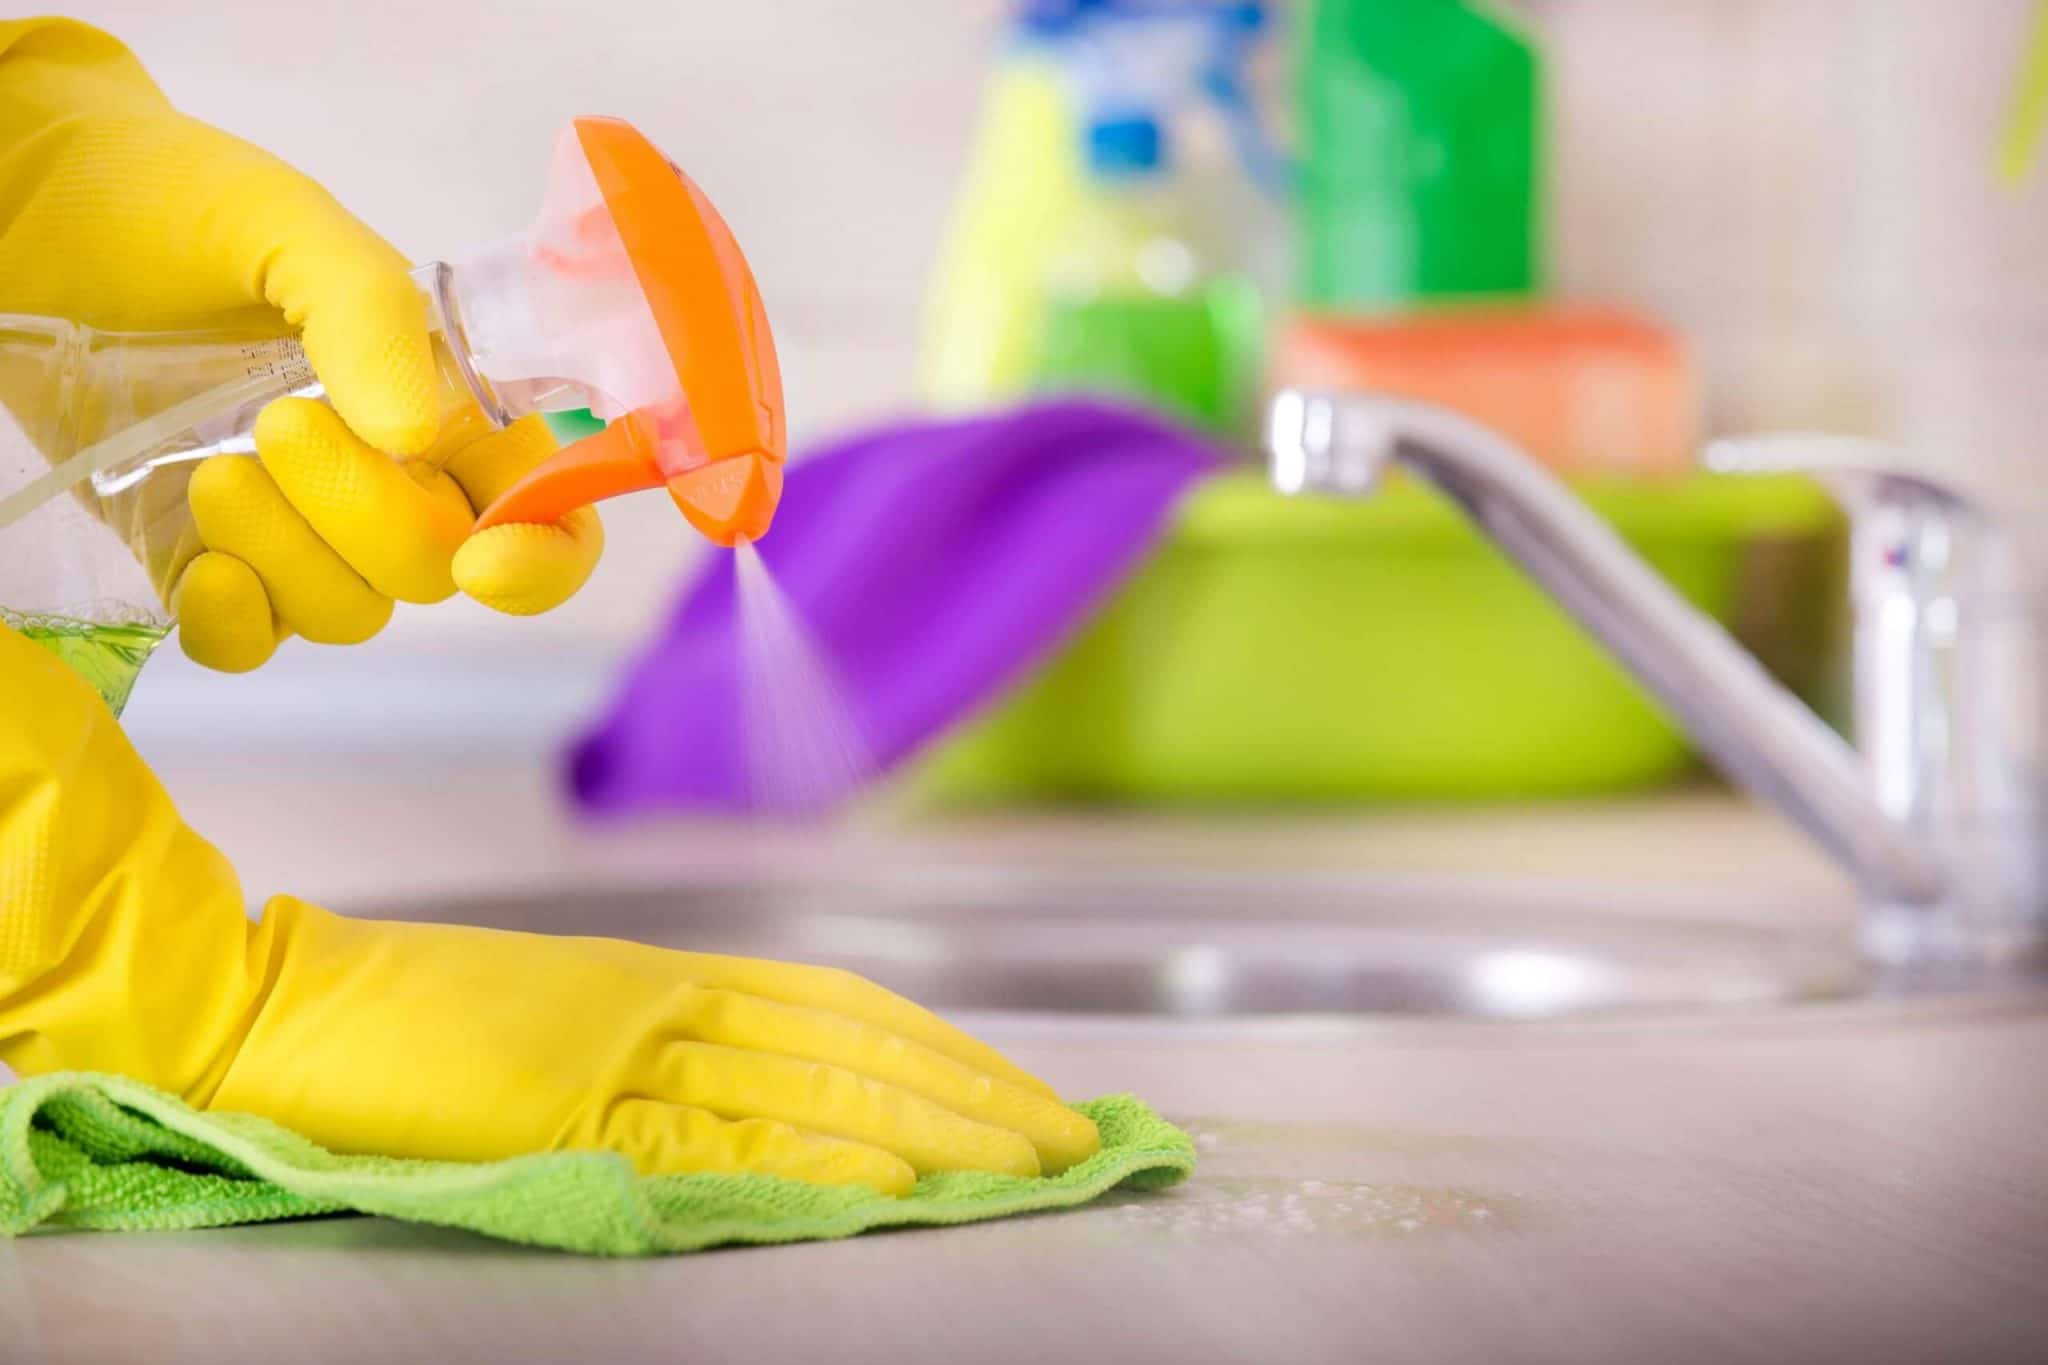
Getting Ready: Your Cleaning Toolkit
Alright, so you know what you're dealing with. Now, let's talk about what you'll need to actually get the job done. Having the right tools and supplies makes a huge difference, you know? It's like preparing for any big task; you want to have everything at hand so you don't have to stop halfway through. You want to make sure you're ready to make your tub spotless.
Rubber Gloves: Always, always wear gloves. This protects your hands from cleaning products and the grime itself. It's a simple step, but really important for safety, in a way.
Ventilation: Open a window or turn on the bathroom fan. Good airflow is super important when using cleaning agents, especially if they have strong fumes. You want fresh air, basically.
Non-Abrasive Sponge or Cloth: You don't want to scratch your tub's surface. A soft sponge, microfiber cloth, or even an old towel works well. Avoid anything too rough, like steel wool, because that can actually damage the finish, you know?
Old Toothbrush or Small Brush: These are great for getting into those tight spots, like around the faucet or drain. They're good for reaching all the nooks and crannies, as a matter of fact.
Bucket: Handy for mixing solutions or holding water.
Cleaning Solutions: We'll get into specifics, but generally, you might need things like white vinegar, baking soda, dish soap, hydrogen peroxide, or a mild commercial cleaner. Having a few options means you're prepared for different stain types, pretty much.
General Steps for a Sparkling Tub
Before we jump into specific stain treatments, there are some basic steps that are good to follow no matter what kind of bathtub you have or what kind of stain you're tackling. These steps help prepare the area and make the cleaning process more effective, you know? It's like a good foundation for a truly clean space.
Clear the Area: First things first, take everything out of the tub. Move all your shampoo bottles, soaps, toys, and anything else that might be in the way. You want a clear surface to work on, basically.
Rinse the Tub: Give the entire tub a good rinse with warm water. This helps to loosen any loose dirt or hair and also wets the surface, which can make cleaning solutions work better. It's like giving it a quick pre-wash, you know?
Test Your Cleaner: If you're using a new cleaning product or a DIY mixture, always test it on a small, hidden spot of your tub first. This is super important to make sure it doesn't damage or discolor the surface. You don't want to accidentally make things worse, right?
Apply Your Chosen Solution: Once you've chosen your cleaning agent (we'll cover specific ones next), apply it to the stained areas. For general cleaning, you can spray or wipe it all over the tub. Make sure to cover the spots you're trying to get rid of, pretty much.
Let It Sit: This is a crucial step for stubborn stains. Let the cleaner sit for a bit, usually 5-15 minutes, or even longer for really tough spots. This gives the product time to break down the grime. It's like letting it do the hard work for you, in a way.
Scrub Gently: Use your non-abrasive sponge or brush to gently scrub the stained areas. For tougher spots, you might need to put a little more effort into it, but always be careful not to scratch the surface. You want to lift the dirt, not damage the tub.
Rinse Thoroughly: Once you're happy with the scrubbing, rinse the entire tub very well with clean water. Make sure all the cleaning product and loosened grime go down the drain. You want it free from any dirty marks, you know?
Wipe Dry: For a truly spotless finish and to prevent new water spots, wipe the tub dry with a clean, soft cloth. This makes a big difference in how shiny it looks. It's the final touch, basically.
Tackling Specific Stains Head-On
Now, let's get into the specifics for those different types of stains. Each one, you know, responds best to certain methods. It's like having a specific strategy for each kind of problem, so you can really go above and beyond to clean all the nooks and crannies and leave the house spotless, as some might say. You'll find that some simple household items can be incredibly powerful.
Soap Scum: The Cloudy Film
Soap scum, that hazy film, is really common, and it can make your tub look dull. The good news is, it's usually pretty easy to deal with, actually. You just need something that cuts through that greasy residue. It's like, you know, it's not deeply embedded dirt, but more of a surface layer.
White Vinegar and Dish Soap: This is a classic combo that works wonders. Mix equal parts warm white vinegar and liquid dish soap in a spray bottle. Shake it up gently to combine. Spray the entire tub, especially the areas with heavy scum. Let it sit for about 15-20 minutes. The vinegar helps dissolve the mineral deposits, and the dish soap cuts through the grease. Then, just scrub with a soft sponge and rinse well. This method is pretty much free of harsh chemicals, which is nice.
Baking Soda Paste: For a slightly more abrasive, yet still gentle, approach, make a paste with baking soda and a little water. Apply this paste directly to the soap scum. Let it sit for a few minutes, then scrub with a damp sponge. The baking soda acts as a mild abrasive to lift the scum without scratching. Rinse thoroughly. It's a simple, effective way to get things clean.
Commercial Soap Scum Removers: There are many products on the market specifically for soap scum. If you go this route, always read the instructions carefully and ensure good ventilation. Some of these can be quite strong, so use them with care, you know?
Hard Water Spots and Mineral Deposits
Hard water stains are those chalky white marks that just seem to cling to everything. They're basically mineral buildup, and they need something acidic to break them down. It's like, the minerals are bonded pretty tightly, so you need a chemical reaction to loosen them, pretty much.
Vinegar Soak: For really tough hard water spots, especially around faucets, soak paper towels or cloths in undiluted white vinegar. Press these vinegar-soaked towels directly onto the stained areas, making sure they stick. Leave them there for several hours, or even overnight if the stains are really bad. The prolonged contact helps the vinegar dissolve the minerals. Then, remove the towels, scrub with a brush, and rinse. This method is surprisingly effective, you know?
Lemon Juice: Lemon juice is another natural acid that can work on hard water stains. Squeeze fresh lemon juice directly onto the spots, let it sit for 10-15 minutes, then scrub and rinse. It also leaves a fresh smell, which is a nice bonus, actually.
Commercial Hard Water Cleaners: There are specialized cleaners for hard water. Look for products that contain phosphoric acid or citric acid. Again, follow the product instructions carefully and ensure good ventilation. They can be quite potent, so be careful, basically.
Rust Stains: The Orange Menace
Rust stains are a bit trickier because they're metal oxidation. They need something that can really break down that iron. You want to be gentle but firm, you know? It's like, you're dealing with something that's really bonded to the surface, in a way.
Lemon Juice and Salt: This is a popular natural remedy. Sprinkle a generous amount of salt over the rust stain, then squeeze fresh lemon juice over the salt to form a paste. Let this paste sit on the stain for a few hours, or even overnight. The acid in the lemon juice helps dissolve the rust, and the salt acts as a gentle abrasive. Scrub with a non-abrasive brush and rinse thoroughly. This combo is surprisingly powerful, pretty much.
Cream of Tartar and Hydrogen Peroxide: Mix cream of tartar with a few drops of hydrogen peroxide to create a paste. Apply this paste to the rust stain and let it sit for about 30 minutes. Scrub gently and rinse. This is another good option for lighter rust marks, you know?
Commercial Rust Removers: For very stubborn rust, you might need a specialized rust remover. These products often contain oxalic acid or hydrofluoric acid, which are strong chemicals. Use them with extreme caution, wearing gloves and ensuring excellent ventilation. Always read and follow the manufacturer's safety instructions very carefully. You want to make sure you're safe, obviously.
Mold and Mildew: The Dark Spots
Mold and mildew are not just unsightly; they're living organisms. So, you need something that kills them and prevents them from coming back. It's about getting rid of the contamination, you know? You want to make sure your tub is free of any unwanted germs.
White Vinegar: Undiluted white vinegar is a fantastic natural mold killer. Spray it directly onto the moldy areas and let it sit for at least an hour. Then, scrub with a brush and rinse. Vinegar is safe for most surfaces and effective against many types of mold. It's a good first step, basically.
Hydrogen Peroxide: For a bit more power, spray 3% hydrogen peroxide directly onto mold and mildew. Let it sit for 10-15 minutes before scrubbing and rinsing. It's a good disinfectant and helps lighten stains. It's like, a stronger option if the vinegar isn't quite cutting it.
Baking Soda Paste: After treating with vinegar or peroxide, you can use a baking soda paste to scrub away any remaining residue and brighten the surface. It helps to lift any lingering dark marks, you know?
Bleach (Use with Caution): For very stubborn mold, a diluted bleach solution (1 part bleach to 10 parts water) can be effective. Apply with a sponge, let it sit for a short time (no more than 10 minutes), then scrub and rinse very well. **Never mix bleach with vinegar or any other cleaners containing ammonia or acids, as this creates dangerous fumes.** Use in a very well-ventilated area. This is a powerful option, but it needs to be handled with extreme care, actually.
Yellowing and General Discoloration
Sometimes, a tub just starts to look a bit yellow or dull over time, even without specific stains. This general discoloration can make the whole bathroom feel less clean. It's like, the overall brightness just fades, you know? You want to bring back that original shine.
Baking Soda and Hydrogen Peroxide Paste: Mix baking soda with enough hydrogen peroxide to form a thick paste. Apply this paste all over the yellowed areas of your tub. Let it sit for several hours, or even overnight for really bad discoloration. The baking soda gently scrubs, and the hydrogen peroxide helps to whiten. Scrub with a soft brush and rinse thoroughly. This method is pretty effective for general brightening, in a way.
Oxygen Bleach (Non-Chlorine): Fill your tub with warm water and add a scoop of oxygen bleach (like OxiClean, but check the label to ensure it's safe for your tub material). Let it soak for a few hours or overnight. Drain the tub, then scrub and rinse. This is a gentler alternative to chlorine bleach for overall whitening. It's like a full-body bath for your bathtub, basically.
Deep Cleaning with Vinegar and Dish Soap: Sometimes, general yellowing is just a buildup of grime that hasn't been thoroughly cleaned. A good scrub with the white vinegar and dish soap solution mentioned earlier can often bring back a lot of the tub's original brightness. It's a good all-around cleaner, pretty much.
Keeping Your Tub Clean for Longer
Cleaning your bathtub is one thing, but keeping it clean is another, isn't it? A little bit of regular effort can save you from big cleaning jobs down the road. It's like, prevention is better than cure, you know? You want to maintain that state of hygiene and neatness.
Rinse After Every Use: This is a simple habit that makes a huge difference. After every shower or bath, give the tub a quick rinse with warm water to wash away soap residue and hair. This prevents buildup from even starting, basically.
Wipe Down Regularly: Keep a squeegee or a microfiber cloth handy in the bathroom. After rinsing, quickly wipe down the tub walls and basin. This removes water droplets before they can dry and leave hard water spots. It only takes a minute, but it's very effective, really.
Ventilate Well: Good airflow is key to preventing mold and mildew. Always use your bathroom fan during and after showers, or open a window. Keep the bathroom door ajar when not in use to allow air to circulate. You want to keep things dry, in a way.
Address Leaks Promptly: Fix any leaky faucets or showerheads right away. Constant drips are a major cause of rust and hard water stains. It's like, don't let a small problem become a big one, you know?
Weekly Quick Clean: Do a quick scrub of your tub once a week with a mild all-purpose cleaner or a vinegar-and-water solution. This prevents grime from building up and becoming stubborn. It's like a maintenance check, pretty much.
Consider a Water Softener: If you have very hard water, a whole-house water softener can significantly reduce mineral buildup in your tub and other fixtures. This is a bigger investment, but it can make cleaning much easier in the long run. It's something to think about, actually.
Frequently Asked Questions About Tub Cleaning
People often have a few common questions when it comes to getting their bathtubs clean. It's totally normal to wonder about the best ways to approach things, you know? Here are some answers to questions that come up a lot, basically.
What is the best homemade cleaner for bathtubs?
For most general cleaning and common stains like soap scum and hard water, a mixture of equal parts white vinegar and dish soap in a spray bottle is very effective. For a bit of scrubbing power, a paste made from baking soda and a little water or hydrogen peroxide also works wonders. These are pretty much free from harsh chemicals and usually do a great job, actually.
How do you clean a really dirty bathtub?
For a really dirty bathtub, you'll want to use a multi-step approach. Start by rinsing the tub with warm water. Then, apply a strong cleaning solution, like a paste of baking soda and hydrogen peroxide, or a mix of vinegar and dish soap. Let it sit for a good long while, perhaps an hour or even overnight for very tough grime. After that, scrub thoroughly with a non-abrasive brush, focusing on the worst areas. Finally, rinse very well and wipe dry for a spotless finish. It might take a bit of effort, but it's totally worth it, you know?
What is the fastest way to clean a bathtub?
The fastest way to clean a bathtub for a quick refresh is to keep up with daily rinsing and wiping. For a slightly deeper clean, spray the tub with a vinegar and water solution, let it sit for just 5-10 minutes, give it a quick scrub with a sponge, and then rinse and dry. This won't tackle super stubborn stains, but it keeps things tidy between deeper cleans. It's like, a quick touch-up, pretty much. Learn more about keeping your home sparkling on our site, and you can also find helpful tips on this page.
For more detailed information on household cleaning products and their safe use, you might find resources from reputable consumer safety organizations helpful, like this general guide on safer cleaning products. This kind of information can really help you choose what's best for your home, you know?

How to Clean: 45 Housecleaning Tips for Every Room of Your Home

Top 5 House Cleaning Tips | Maggy Maid Nashville
Keep Your House Clean Like a Pro | Love My Maids
