Simple Steps: How To Braid Hair For Everyone
Learning how to braid your hair can really open up a whole world of possibilities for your look, you know? It's a skill that, once you get the hang of it, feels incredibly satisfying and lets you create all sorts of lovely styles, whether for a casual day out or a more special occasion. Lots of people, it seems, are looking to pick up this neat trick, and for good reason.
So, perhaps you've been wanting to try out some new looks, or maybe you just want to keep your hair out of your face in a pretty way. Braiding, actually, is a timeless technique that has been around for ages, and it never really goes out of style. It's a bit like learning to tie your shoes, in a way; once you know, you just know, and it becomes second nature.
This guide is here to help you get started, offering a clear path to understanding the basics of braiding. We'll go over the simple steps, give you some useful tips, and help you feel more confident in your hair styling abilities. You might be surprised at just how quickly you can pick it up, honestly.
Table of Contents
- Getting Ready for Your Braiding Adventure
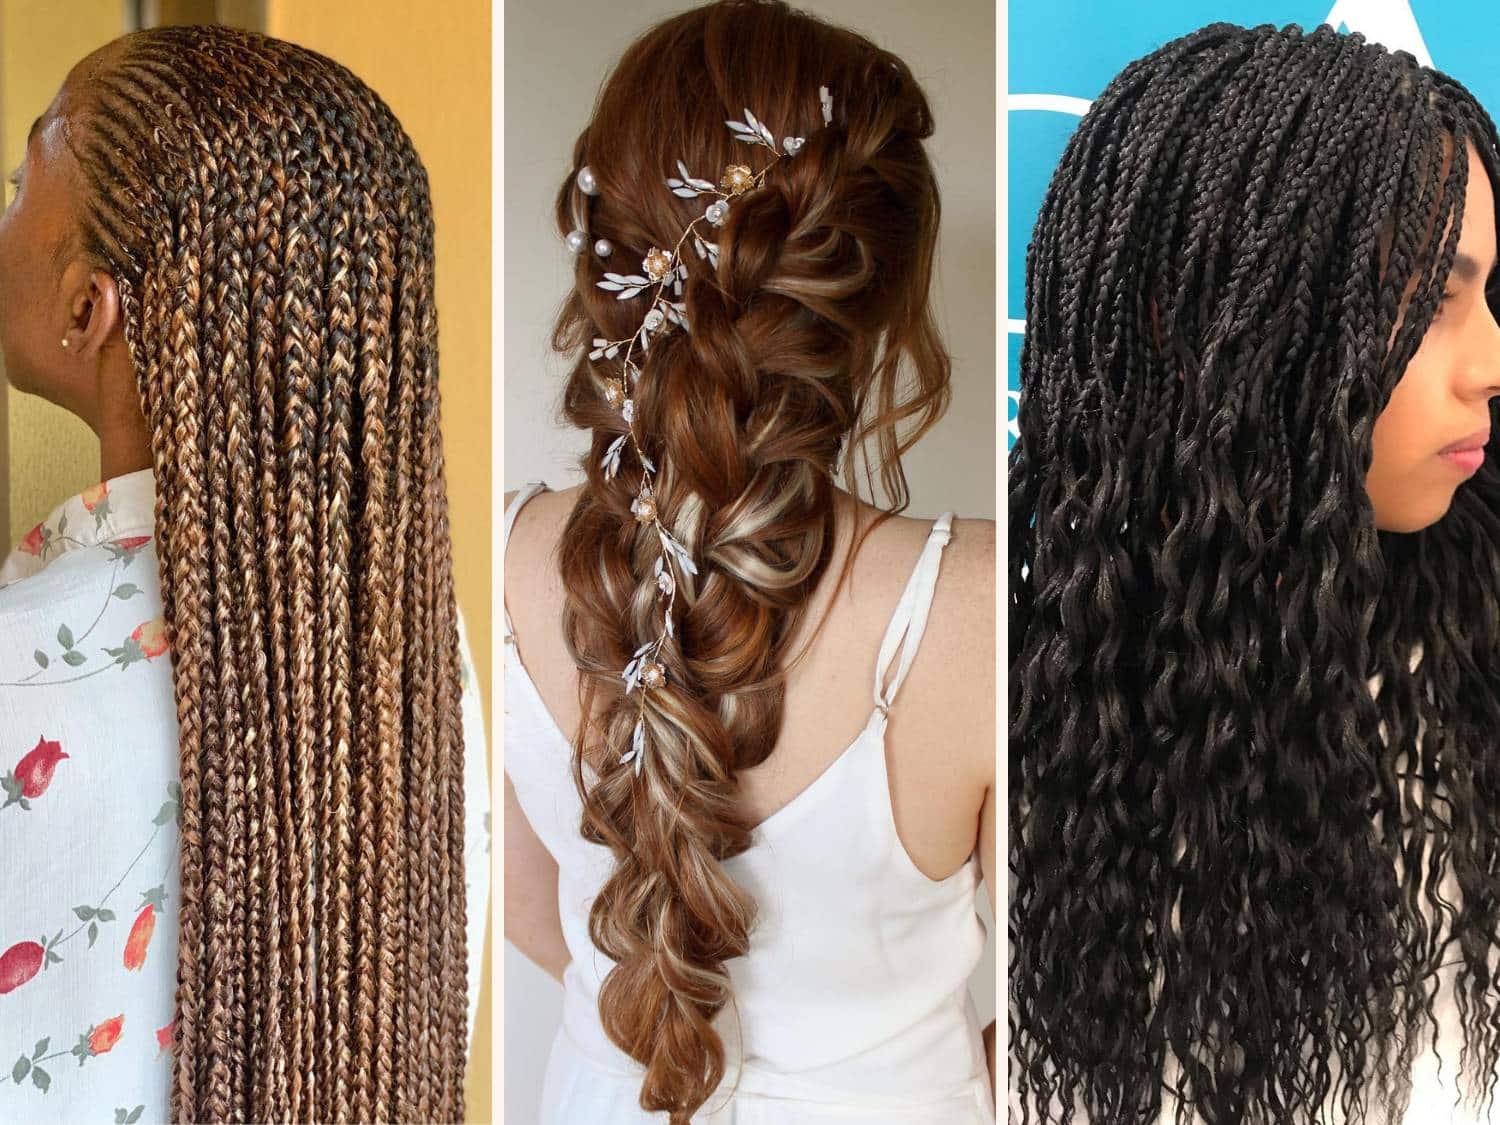
- The Classic Three-Strand Braid: A Starting Point
- Moving On to the French Braid
- Exploring the Dutch Braid: An Inverted Look
- Caring for Your Braided Styles
- Frequently Asked Questions About Braiding
Getting Ready for Your Braiding Adventure
Before you even begin to think about how to braid, it's pretty important to make sure your hair is ready. A good start makes the whole process much smoother, you know. You want your hair to be easy to work with, not tangled or too slippery.
First off, try to have clean, dry hair. Hair that's a day or two old can actually be a bit easier to braid because it has a little more grip, but fresh, clean hair works just fine too. Just make sure it's completely dry. Damp hair, in a way, can be more prone to breakage when you're pulling on it, and it won't hold the braid as well.
Next, get rid of any knots. Use a wide-tooth comb or a brush to gently work through your hair, starting from the ends and moving up to the roots. This really helps prevent snags and makes separating sections much simpler. A smooth base, it seems, is key for a smooth braid.
You might also want to have a few tools handy. A good hairbrush, a comb with a fine tail for parting, some hair ties (small clear ones are often best for securing braids), and maybe a few bobby pins for stray pieces. Having everything within reach just makes the whole experience less frustrating, as a matter of fact.
A little bit of product can sometimes help too. A light texturizing spray can add some grip to very silky hair, or a smoothing serum can help tame flyaways. Don't use too much, though, or your hair might become too heavy or greasy, which is not what we want at all.
The Classic Three-Strand Braid: A Starting Point
When you're first learning how to braid, the three-strand braid is absolutely where you should begin. It's the foundation for nearly every other braid style out there, so getting this one down is a huge step. It's surprisingly simple once you understand the pattern, honestly.
This basic braid, you know, involves taking three sections of hair and weaving them over each other. It creates a pretty, rope-like pattern that's both classic and versatile. You can do it on a ponytail, a section of hair, or even on someone else's hair to practice.
Don't worry if it doesn't look perfect the first few times. Braiding, like any new skill, takes a little bit of practice. The more you do it, the better your fingers will get at feeling the sections and keeping the tension just right. It's almost like learning to play an instrument; repetition really helps.
Step-by-Step Guide to a Basic Braid
Let's break down the steps for the most common way to braid, which is the simple three-strand method. This is where most people start their braiding journey, and it's a very good place to be, you know.
Gather Your Hair: First, decide where you want your braid to start. For practice, a simple ponytail at the back of your head is often easiest. You can also just take a section of hair from the side. Make sure the hair you're working with is free of tangles, naturally.
Divide into Three Sections: Take the hair you've gathered and split it into three equal parts. Think of them as section 1 (left), section 2 (middle), and section 3 (right). Try to make them as even as possible, as this really helps with the braid's overall look.
Start the Weave (Left Over Middle): Pick up the left section (section 1). Cross it over the middle section (section 2). Now, what was the left section is now the new middle section, and the old middle section is now the new left section. This is a crucial step, so take your time with it, really.
Continue the Weave (Right Over Middle): Next, take the right section (section 3). Cross it over the new middle section. Again, the right section becomes the new middle, and the old middle becomes the new right. You're basically always bringing an outer section over the current middle one, in a way.
Repeat the Pattern: Keep repeating steps 3 and 4. You'll go left over middle, then right over middle, then left over middle again, and so on. Try to keep a consistent tension as you go. This helps the braid look neat and even all the way down, you know.
Secure the End: Once you've braided down as far as you want, or as far as your hair allows, use a hair tie to secure the end. Make sure it's snug enough to hold the braid without being too tight. You can also gently tug on the loops of the braid to make it look a bit fuller, if you like.
Tips for a Neat and Tidy Braid
Making your braid look good takes a little bit of finesse, but it's totally achievable. Here are some pointers that can really help you get a cleaner finish, you know.
Maintain consistent tension throughout the braiding process. If some sections are pulled tighter than others, your braid might look lumpy or uneven. Try to keep an even pull on each strand as you cross it over, which is something that just comes with practice, actually.
Use a mirror, especially when you're braiding your own hair. It helps you see what you're doing and adjust your hand placement as needed. Sometimes, seeing it from a different angle makes all the difference, it seems.
Don't be afraid to use a little bit of hairspray or a light pomade on your fingers before you start. This can help smooth down any little flyaways and give you more control over the hair. Just a little bit goes a long way, so don't overdo it, you know.
Practice, practice, practice! The more you braid, the more natural it will feel. Your fingers will learn the movements, and you'll find your own rhythm. Try braiding a doll's hair, a friend's hair, or even just a piece of rope if you want to get the motion down, basically.
Moving On to the French Braid
Once you're pretty comfortable with the basic three-strand braid, the French braid is often the next step. It's a bit more involved because you're adding new sections of hair as you go, but the core idea is still the same, you know. This braid sits close to the scalp and looks incredibly elegant.
The French braid is a very popular choice for many reasons. It keeps hair neatly tucked away, which is great for sports or just everyday wear, and it looks lovely for dressier occasions too. It's a bit of a challenge at first, but it's very rewarding when you get it right, honestly.
It's all about picking up small, even sections of hair from the sides and incorporating them into your main three strands. This continuous adding of hair is what makes the French braid different from a regular braid, it seems.
How to French Braid Your Own Hair
Braiding your own hair can feel like a bit of a puzzle at first, especially when it comes to French braiding the back of your head. But with a mirror and some patience, it's totally doable, you know.
Start at the Top: Begin by taking a section of hair from the crown of your head, right where you want the braid to start. This section should be about two to three inches wide, depending on how thick you want your braid to be, naturally.
Divide and Begin Braiding: Split this initial section into three equal strands, just like you would for a regular braid. Make one pass of the basic three-strand braid (left over middle, then right over middle). This sets your foundation, you know.
Add Hair from the Sides: Now, before you make your next cross, pick up a small, even section of hair from the left side of your head, right next to your existing left strand. Add this new hair to your left strand, making it thicker. Then, cross this combined, thicker left strand over the middle strand. This is the key difference, basically.
Repeat on the Other Side: Do the same thing on the right side. Pick up a small, even section of hair from the right side of your head, add it to your right strand, and then cross this combined, thicker right strand over the new middle strand. Try to keep the sections you add roughly the same size each time, it seems.
Continue Down the Head: Keep repeating steps 3 and 4, adding hair from the sides each time before you cross the outer strand over the middle. Work your way down the back of your head, following the curve of your scalp. Try to keep your hands close to your head to maintain tightness, you know.
Finish with a Regular Braid: Once you've run out of hair to add from the sides (usually around the nape of your neck), simply finish the rest of the braid as a regular three-strand braid. Secure the end with a hair tie. You might want to use a second mirror to see the back of your head, actually.
Common French Braid Challenges and Fixes
It's pretty common to run into a few bumps when you're first figuring out how to French braid. Don't get discouraged if it's not perfect right away; that's totally normal, you know.
One common issue is uneven sections. If you pick up too much hair on one side and too little on the other, your braid can look lopsided. The fix here is just to really focus on grabbing consistent amounts of hair each time. A fine-tooth comb can help you part cleaner sections, basically.
Another thing that happens a lot is the braid becoming too loose or too tight in spots. This often comes down to inconsistent tension. Try to keep a steady, gentle pull on the strands as you work. It's a bit like learning to balance; you find the right amount of pressure over time, you know.
Getting your hands in the right position can also be tricky, especially when braiding your own hair at the back. Try to keep your elbows up and your hands close to your head. Some people find it easier to braid upside down if they're doing a French braid starting from the nape of the neck, but that's a more advanced technique, really.
Stray hairs and flyaways are also pretty normal. For these, a little bit of hairspray or a tiny dab of styling cream can help smooth them down once the braid is done. Bobby pins are also your friend for tucking in any rogue pieces, as a matter of fact.
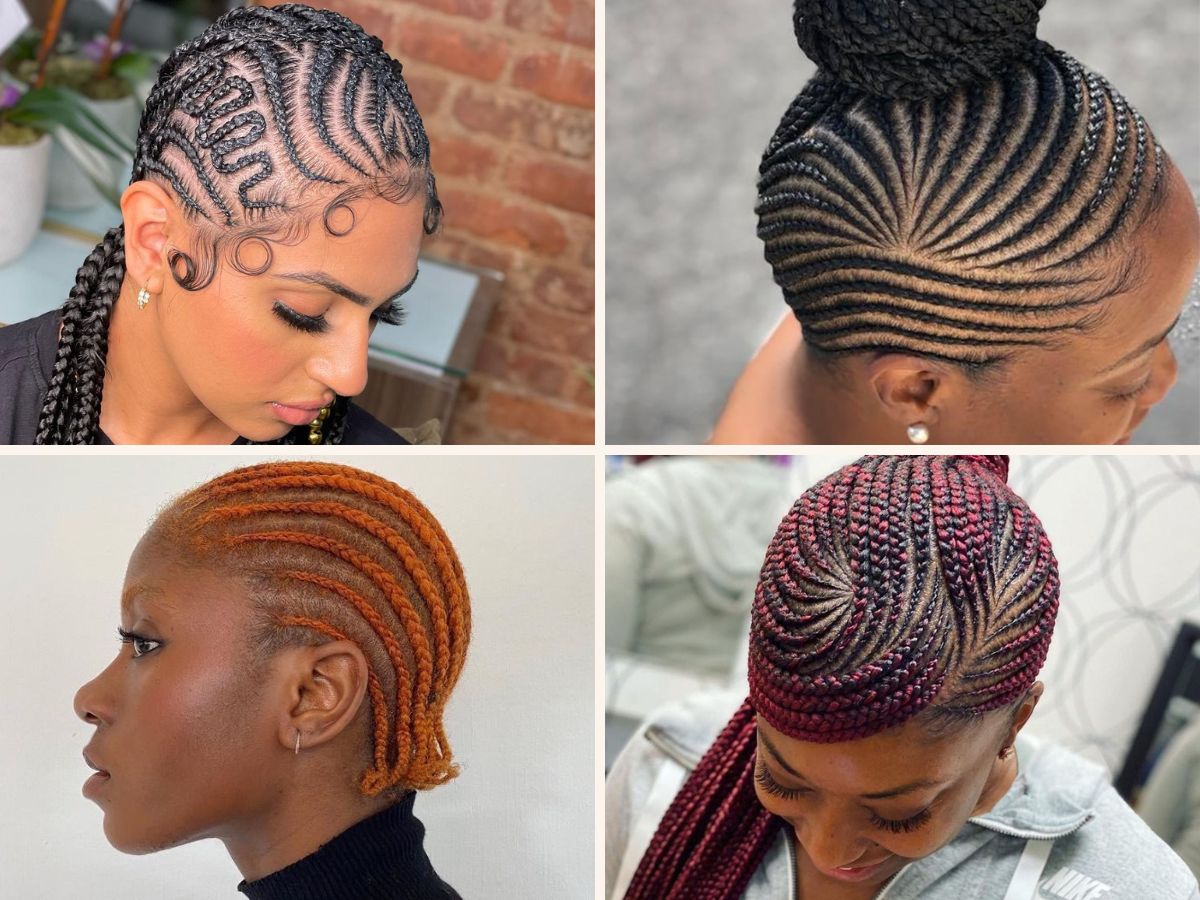
Exploring the Dutch Braid: An Inverted Look
Once you've got the French braid down, the Dutch braid is a fun next step. It's often called an "inverted" or "reverse" French braid because, instead of crossing the strands over the middle, you cross them *under* the middle. This makes the braid stand out from the head, creating a really cool, raised effect, you know.
The technique for the Dutch braid is very similar to the French braid, just with that one key difference in how you cross the strands. You still start with three sections and add hair from the sides as you go, basically.
This braid looks particularly striking, and it's a favorite for many people because of its unique texture and how it highlights the braid itself. It's a bit more visually dramatic than a French braid, in a way.
To do a Dutch braid, you start just like a French braid, with three sections at the crown. But instead of crossing the left strand over the middle, you cross it *under* the middle. Then, you cross the right strand *under* the new middle strand. You continue adding hair from the sides before each under-cross, just like with the French braid. It's a small change, but it makes a big difference in the final look, honestly.
Practice both the French and Dutch methods to see which one you prefer, or to master both for different looks. They are both incredibly versatile and pretty, you know.
Caring for Your Braided Styles
Once you've put in the effort to create a beautiful braid, you probably want it to last as long as possible, right? There are a few simple things you can do to help keep your braided styles looking fresh and neat, you know.
To help a braid last, especially overnight, you can wrap your head in a silk scarf or sleep on a silk pillowcase. This reduces friction on your hair, which can prevent frizz and keep the braid from getting messy. It's a simple trick that really makes a difference, it seems.
If you have a few flyaways popping out during the day, a tiny bit of hairspray or a touch of styling cream on your fingertips can help smooth them back into place. Just use a very small amount so you don't make your braid stiff or greasy, basically.
When you're ready to take your braid out, be gentle. Don't just pull it apart roughly. Carefully unweave the strands, starting from the bottom and working your way up. This helps prevent breakage and keeps your hair healthier, you know. You might find some waves in your hair after taking out a braid, which can be a fun bonus style, actually.
For more general hair care tips that can help your braids look their best, you can learn more about hair health on our site. Also, if you're looking for different ways to style your hair beyond basic braids, you might find inspiration on this page about creative hair ideas.
Frequently Asked Questions About Braiding
People often have similar questions when they're learning how to braid, so here are some common ones that might be on your mind too, you know.
How do I make my braids look fuller or thicker?
To make your braids look more voluminous, a trick is to gently "pancake" them after you've secured the end. This means carefully pulling on the outer loops of the braid to loosen them and make them wider. You want to do this slowly and evenly, starting from the top and working your way down. It gives the braid a softer, more relaxed appearance, and it really adds a lot of visual thickness, you know. Using a texturizing spray before braiding can also give your hair more grip and volume, which helps with this effect, basically.
What's the best way to braid short hair?
Braiding short hair can be a bit more challenging because the strands are shorter and might slip out more easily. The key is to take smaller sections of hair and keep a tighter tension as you braid. Using a bit of styling product, like a light gel or pomade, can help keep those shorter pieces in place. You might also find that smaller, tighter braids work better than loose ones. For very short hair, you might only be able to do mini braids or braids along the hairline, but even those can look very pretty, you know.
Can I braid wet hair?
While you technically *can* braid wet hair, it's generally not recommended for a few reasons. Wet hair is more fragile and prone to breakage when pulled or manipulated, so braiding it can cause damage. Also, when wet hair dries in a braid, it can sometimes create frizz or an odd texture once you take the braid out. For the best results and to keep your hair healthy, it's usually better to braid hair when it's completely dry or just slightly damp. This helps the braid hold its shape better and reduces the risk of damage, it seems.
Braiding, as you can see, is a skill that gets better with practice. Just keep trying, and you'll get the hang of it, honestly. You can find more hair care tips and styling ideas on sites like All Things Hair, which is a pretty good resource for lots of hair-related topics.
Styles - Braid Hairstyles
25 Scalp Braids Hairstyles - Braid Hairstyles
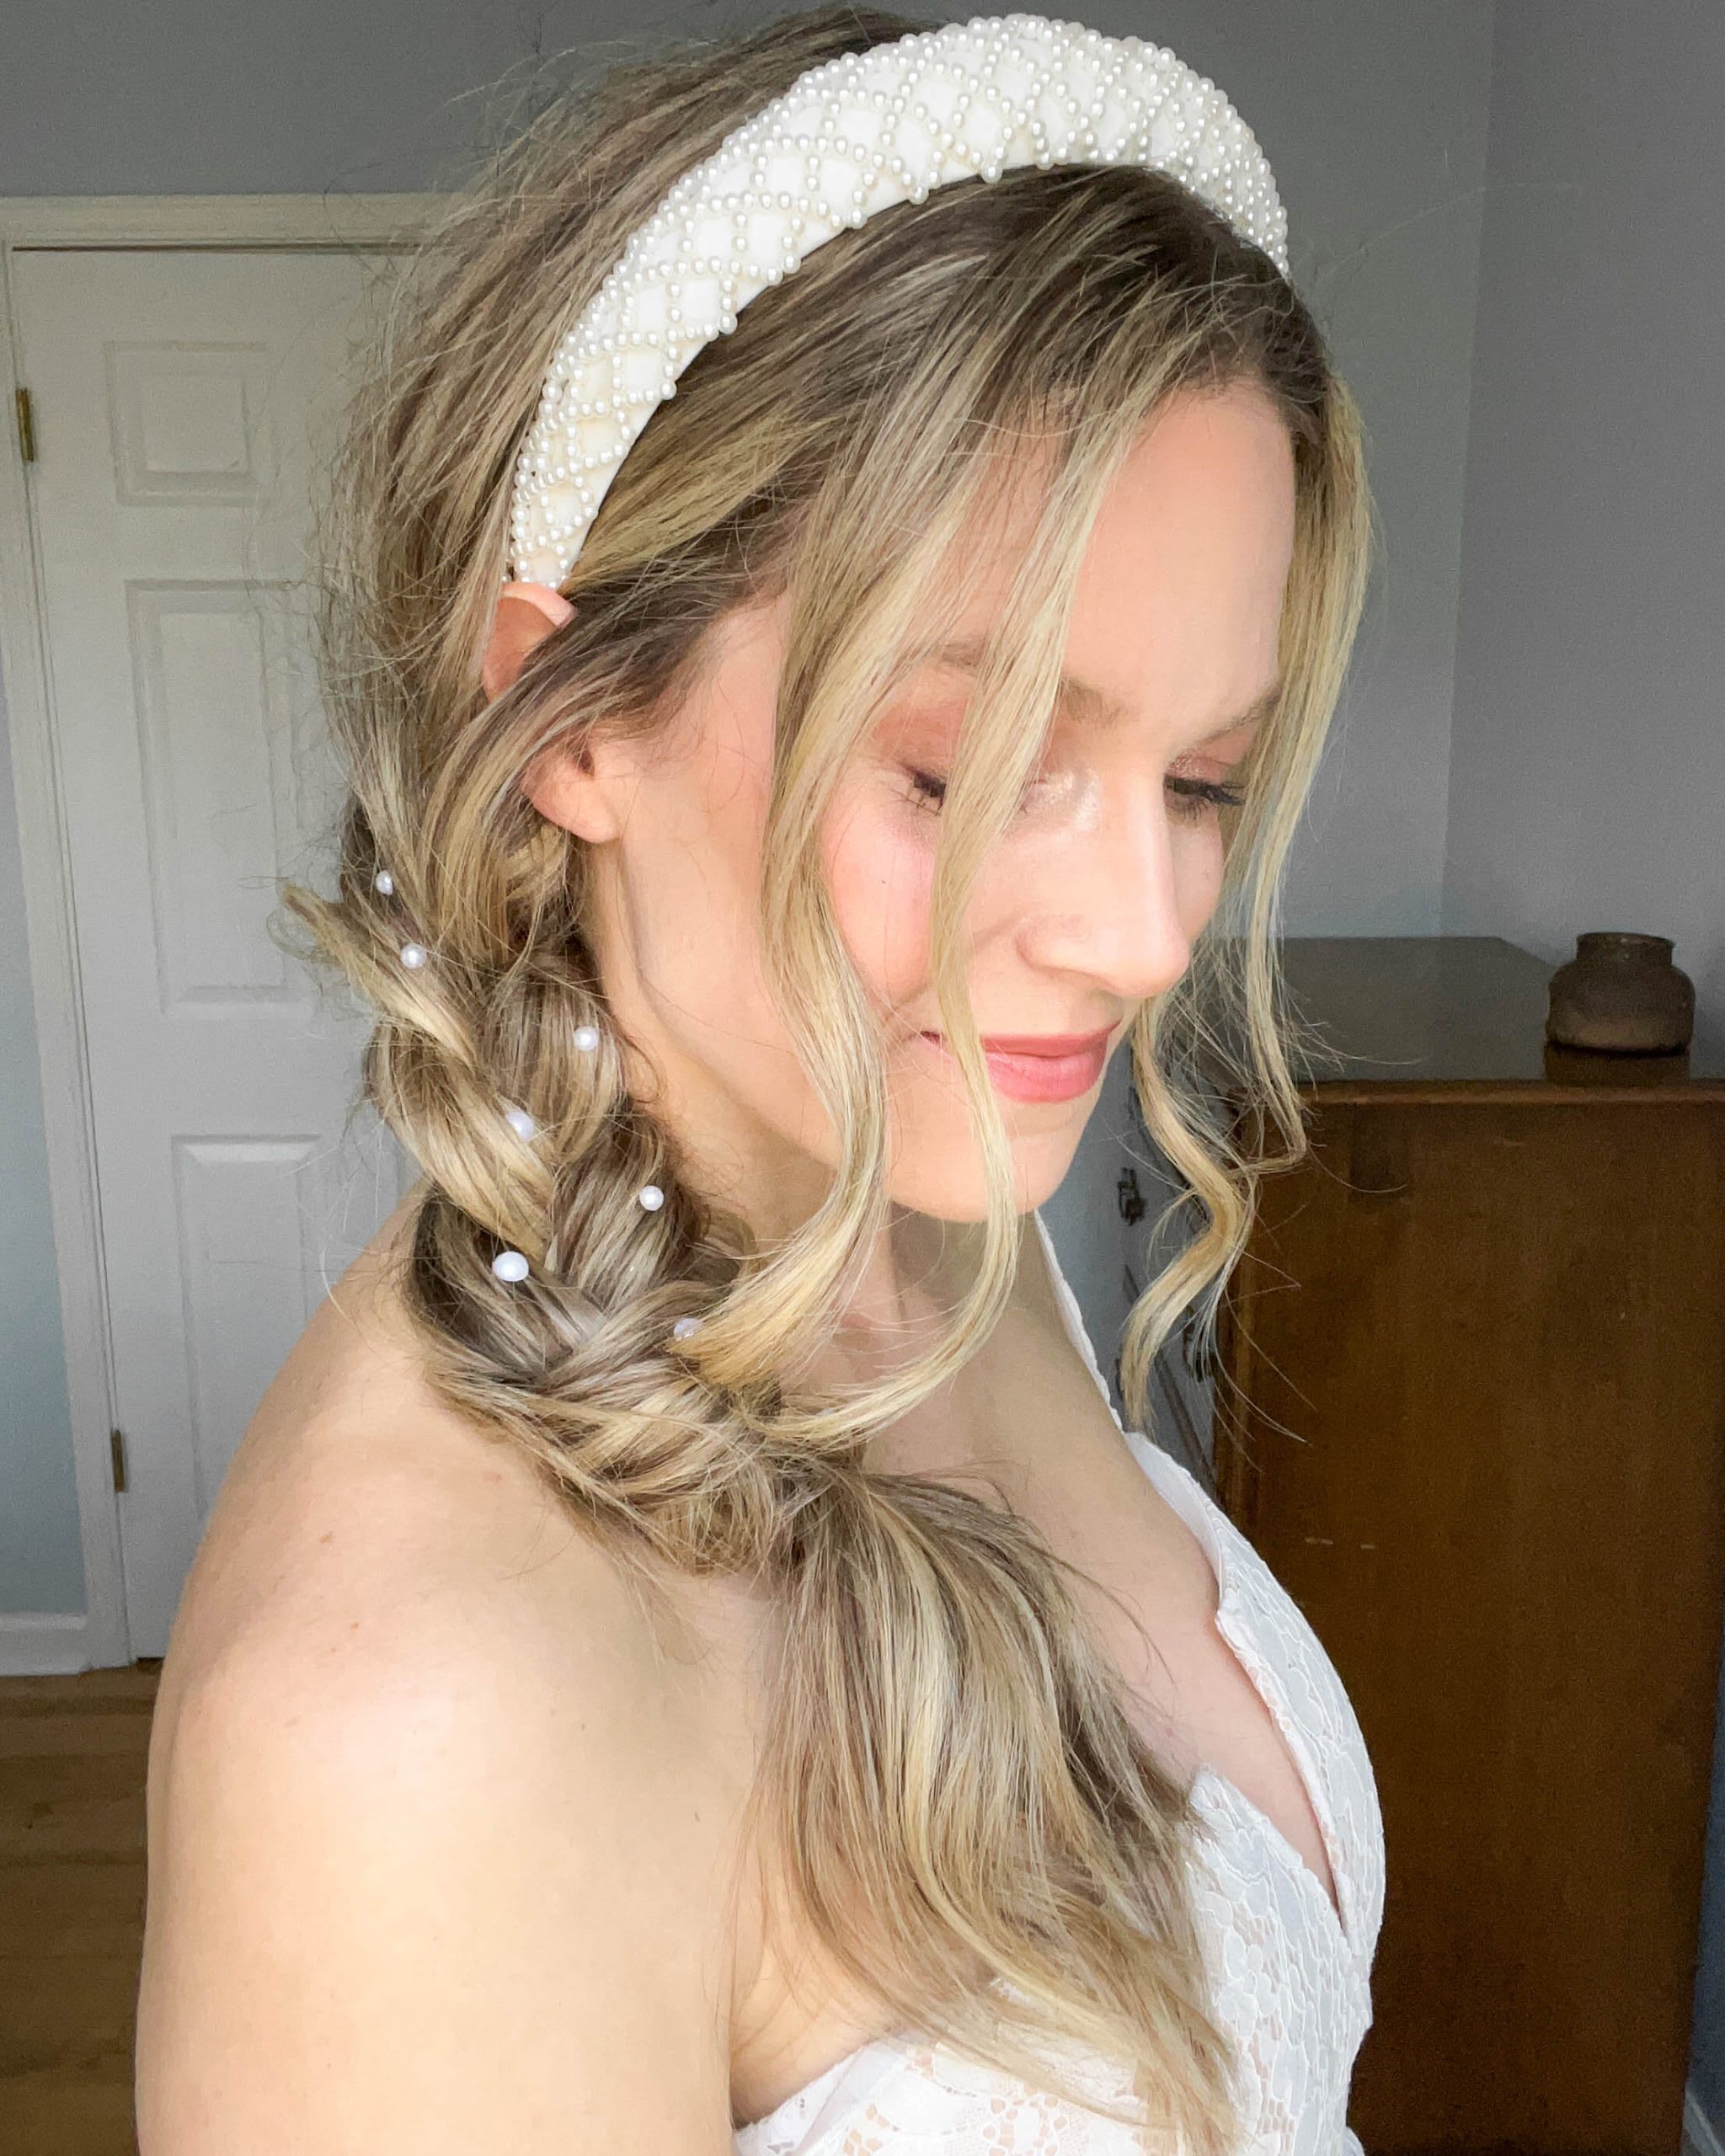
Bridal Braid Hairstyle With Pearls - Lulus.com Fashion Blog
