Bow Drawing Made Simple: Easy Ideas For Artists & Beginners
Have you ever looked at a gift, a cute hairstyle, or maybe even a charming illustration and thought, "Wow, I wish I could draw a bow like that?" Well, you are not alone, you know. Bows are, in a way, just everywhere! They bring a touch of charm and a bit of playful elegance to so many things. Whether it's the fabric kind that wraps up presents or the sweet ribbons that tie back hair, learning to draw these lovely shapes can really open up a whole new world for your artwork. It’s a skill that, quite honestly, feels very rewarding to pick up.
This blog, actually, is all about helping you get started with bow drawing. We're going to look at simple and creative ways to sketch bows, from those cute little ribbon bows to ones that are more decorative and stylish. You'll see, step by step, how to bring different bows to life on your paper, ready to add to any art project you have in mind. It's easy to draw a bow, sort of like the fabric and ribbon ones that adorn gifts, hair, and clothing, and we'll show you how.
So, whether you are an aspiring artist just starting out or someone who has been drawing for a while and just wants some fresh inspiration, mastering the technique of drawing a bow adds a unique skill to your repertoire. In this guide, you will learn the basics of creating these delightful shapes. We'll show you how drawing a bow, which might seem tricky at first, becomes quite simple with just a few steps. It's a fun activity, and we even have a free printable guide and coloring ideas to help you along, so you can really get into it.
Table of Contents
- Getting Started with Bow Drawing
- Exploring Various Bow Styles
- Your Step-by-Step Bow Drawing Guide
- Tips for Beautiful Bow Drawings
- Frequently Asked Questions About Bow Drawing
Getting Started with Bow Drawing
Starting any new drawing project, well, it usually begins with getting your tools ready and setting up your workspace. For bow drawing, this is no different. You don't need a lot of fancy stuff, just some basic art supplies that you probably already have lying around, or that are easy to get a hold of. This initial setup is, honestly, a pretty big part of making the whole process feel smooth and enjoyable, so take your time with it.
Gathering Your Materials
To begin your bow drawing adventure, you'll want some simple items. A pencil, perhaps a few different kinds for lighter and darker lines, is a good start. An eraser, naturally, will be your friend for fixing any little oopsies. Paper, of course, is a must – any kind will do, whether it's a sketchbook page or just some printer paper. You might also find a ruler helpful for drawing initial guidelines, though it's not strictly necessary. Sometimes, having a few different sizes of paper can be good too, just to experiment with how big or small you want your bows to be. You can, for example, try a small notebook for quick doodles or a larger sheet for a more detailed piece.
If you're feeling a bit more adventurous, you could grab some coloring tools like colored pencils, markers, or even watercolors. This is especially fun if you plan on using our free printable guide and coloring ideas. Adding color can really make your bow drawings pop and give them a lot of character, you know. It’s all about having a good time with it, and these tools really help with that.
Setting Up Your Initial Guidelines
When you are ready to draw, starting with a guideline for the bow is a really smart move. This is, in a way, like building a framework for your drawing. You want to show, with light lines, the general proportions of it. Think about where the center of the bow will be, how wide it will stretch, and how long its "tails" or ribbon ends will hang down. These initial marks are just suggestions, remember, not something set in stone. They help you place the bow on your paper and make sure it looks balanced.
For instance, you might draw a light horizontal line for the main body of the bow, and then a vertical line to mark its center. These lines help you keep things symmetrical, which is, honestly, quite helpful when you're aiming for a pleasing shape. It's a bit like sketching out a rough draft before you commit to the final version, giving you a chance to adjust things before you get too far along. This step, it really helps to make the whole process feel much less intimidating, particularly for beginners.
Exploring Various Bow Styles
One of the truly fun parts about bow drawing is that there are so many different styles you can try. Bows are, quite literally, versatile decorative elements that can enhance cards, gifts, illustrations, and more. This means you can tailor your bow to fit the mood or purpose of your artwork, which is, you know, pretty cool. Whether you want something simple and sweet or something elaborate and fancy, there's a bow style that will work. We'll look at a few popular ones, just to give you some ideas to get started with.
Simple Ribbon Bows
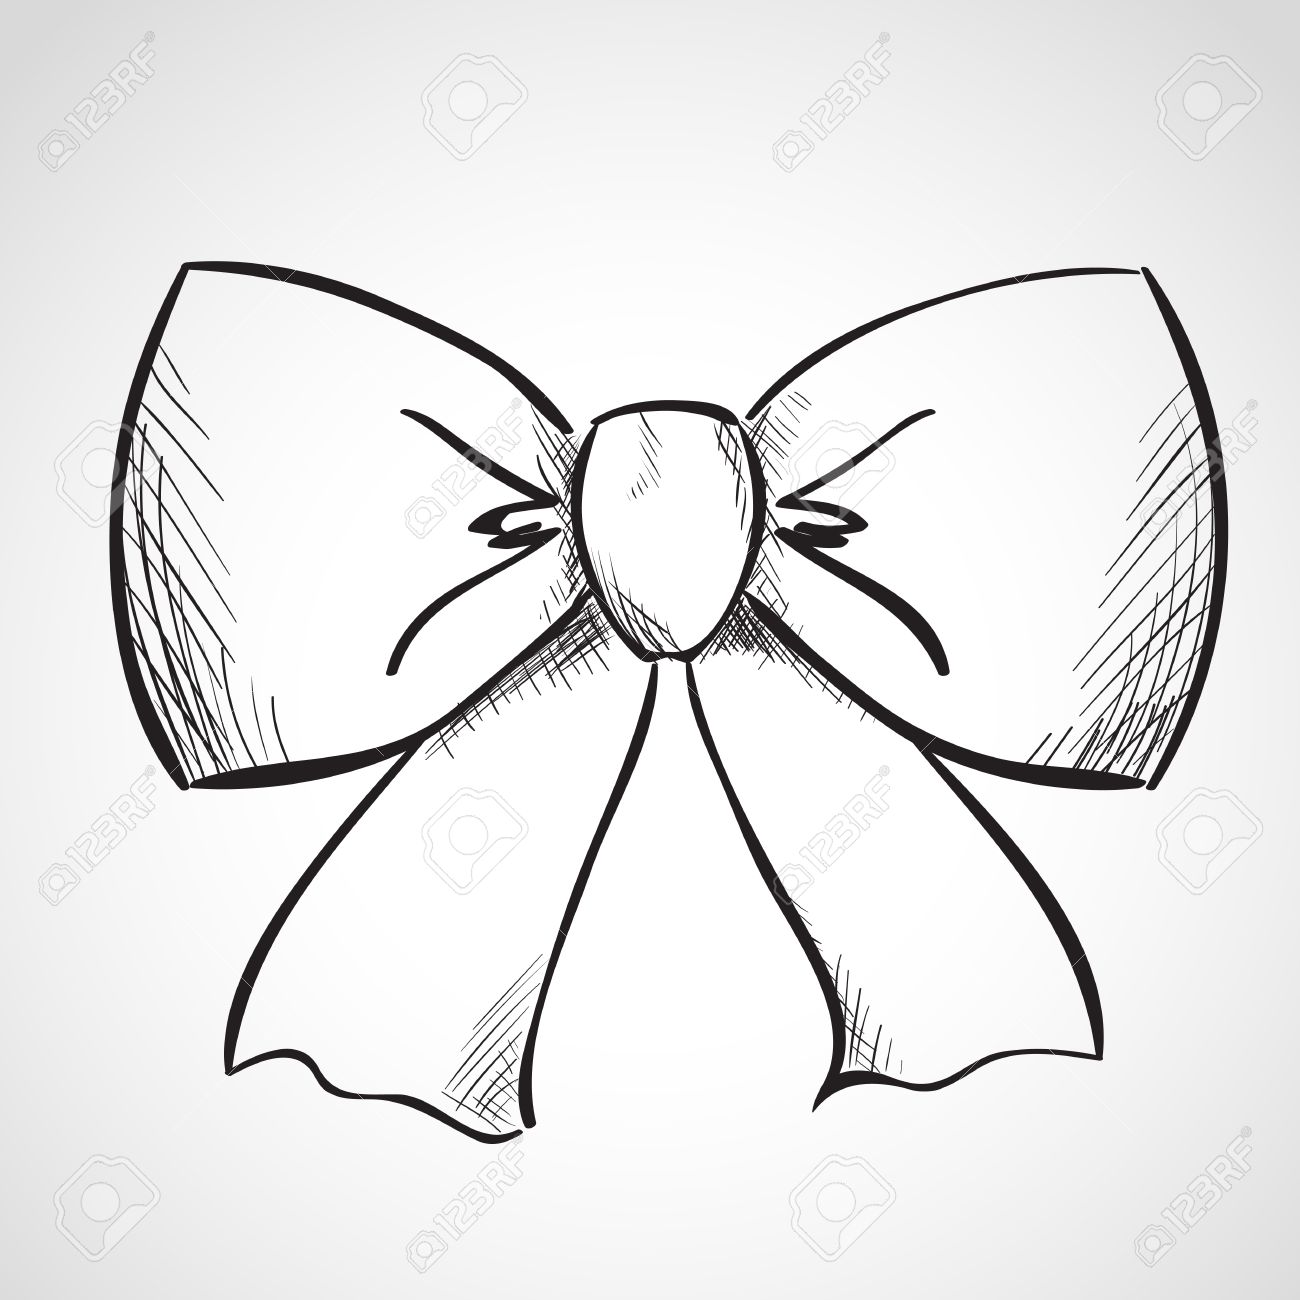
The simple ribbon bow is, perhaps, the most common type you'll encounter, and it's a great place to start. These are the kinds of bows you see on gifts or tied in hair. They usually have two loops and two trailing ends. To draw one, you basically start with a central knot shape, then add the loops extending outwards, and finally the ribbons hanging down. The trick is to make the lines smooth and flowing, suggesting the soft, pliable nature of fabric. You can, for instance, think about how a real ribbon might fold and crease, and try to capture that in your drawing. It's a very approachable style, perfect for beginners looking for bow drawing ideas.
This style is also, in a way, a foundation for many other bow types. Once you get comfortable with the basic ribbon bow, you'll find it easier to adapt your technique to more complex designs. You can make the loops wider or narrower, the tails longer or shorter, just to change the look. It’s all about playing around with the proportions a little bit. These bows are, too, quite lovely for adding a gentle touch to any drawing, making them a staple for many artists.
Cute & Cartoon Bows
If you're looking to add a cute touch to your art, cartoon bows are, like, totally the way to go. These bows often feature exaggerated shapes, bolder outlines, and sometimes even little sparkles or dots to give them a playful feel. They are perfect for characters, whimsical scenes, or just doodling in a notebook. Think about how a bow might look on a cartoon animal or a cheerful character – often, they are a bit plump, with rounded edges and a very friendly appearance. Drawing a cartoon bow can be a lot of fun because it allows for a lot of creative freedom, you know, without needing to be super realistic.
To make them cute, you might give them slightly uneven loops or a bit of a bouncy feel. Sometimes, adding a tiny shadow or a highlight can make them look three-dimensional and even more appealing. These bows are, in some respects, designed to evoke a feeling of joy and innocence. They are, too, quite simple to draw once you get the hang of their bubbly shapes, and they are very popular for kids' drawings or anything needing a touch of cheer. This style is, honestly, a fantastic way to bring some lightheartedness to your sketches.
Decorative & Stylish Bows
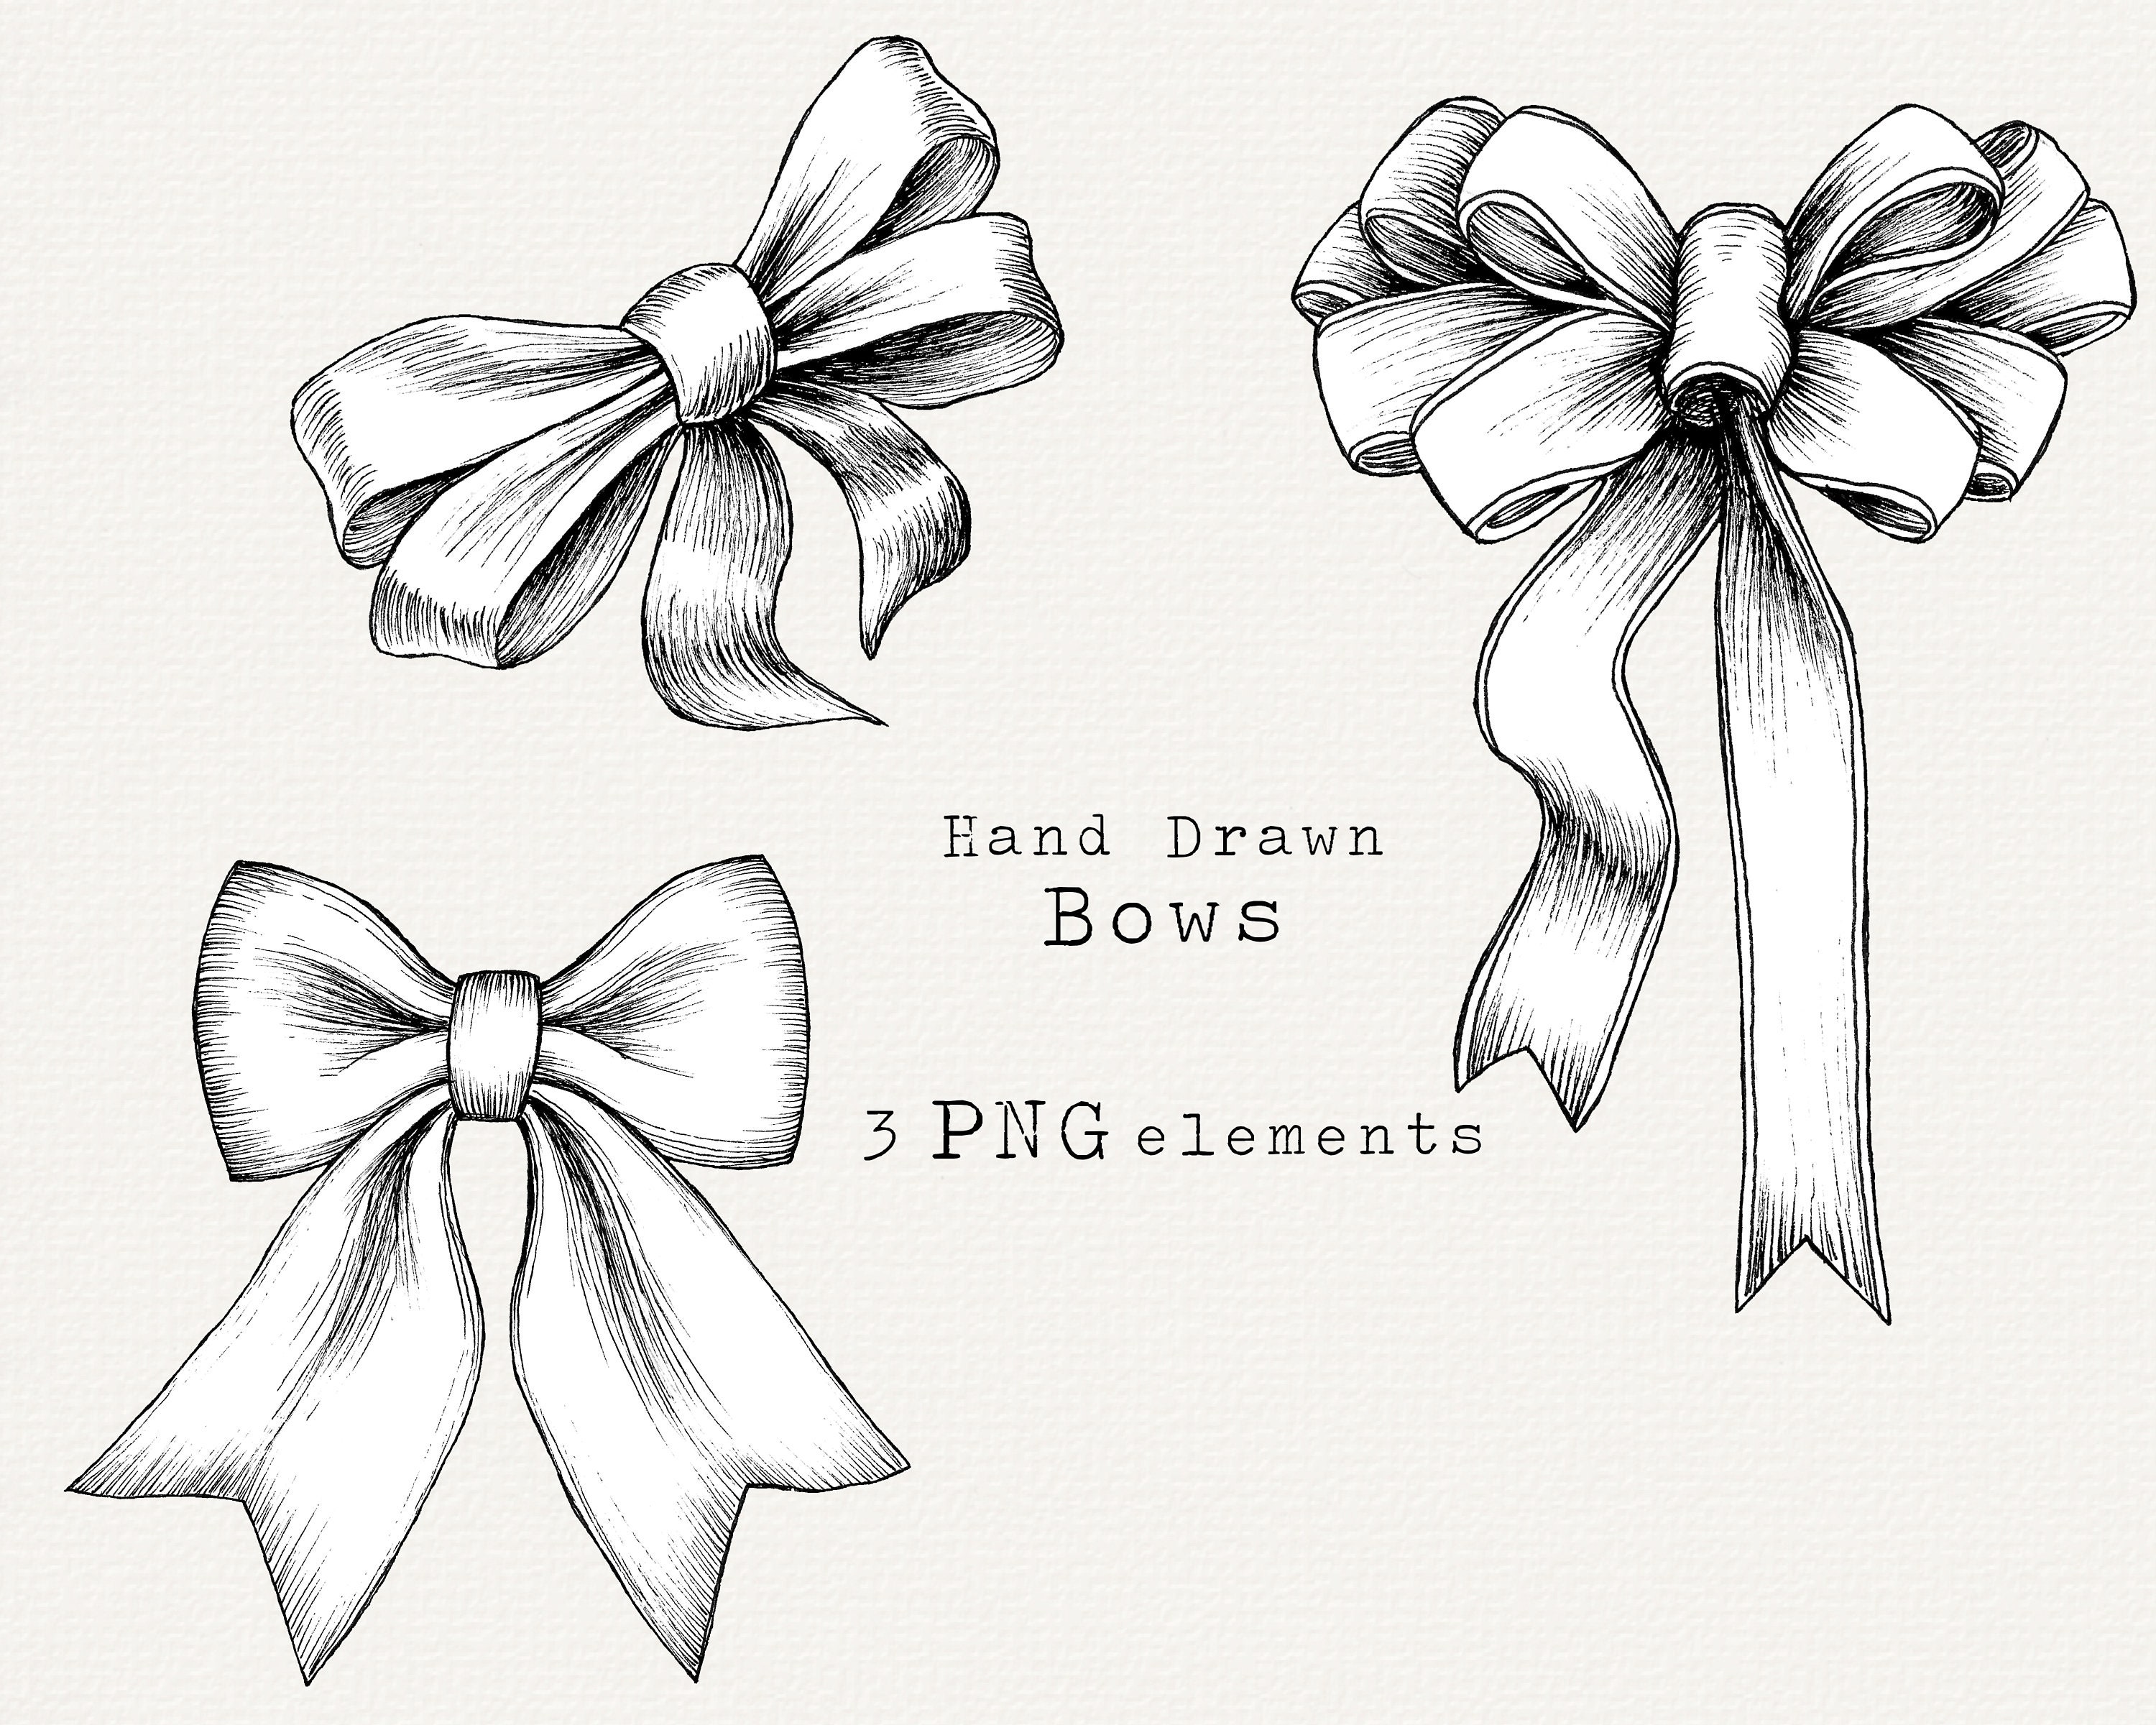
For those who want to add a touch of elegance or flair, decorative and stylish bows are, well, a fantastic option. These bows often have more intricate details, perhaps multiple layers of ribbon, or a more sophisticated shape. They might feature sharper angles, more defined folds, or even patterns on the ribbon itself. Think about bows you might see on fancy dresses, elaborate gift wrapping, or as part of a detailed illustration. They require a bit more attention to how fabric drapes and folds, but the effort, in fact, really pays off with a very polished look.
When drawing these, consider the texture of the ribbon. Is it silky and flowing, or stiff and structured? This will influence how you draw the lines and shadows. You can also add elements like beads, lace patterns, or even small charms to make them even more decorative. These bows are, arguably, perfect for more refined artwork, giving a sense of sophistication and artistic skill. They are, too, a great way to challenge yourself a little bit and push your drawing abilities further.
Coquette & Christmas Bows
The "coquette aesthetic" has, you know, brought bows back into the spotlight in a big way. These bows are often delicate, feminine, and a bit playful, usually in soft colors like pastels or classic red. They are perfect for doodling in a notebook to channel that aesthetic, or for adding a sweet touch to fashion illustrations. Coquette bows often have a slightly loose, flowing feel, suggesting movement and grace. They are, quite simply, charming and very on-trend right now.
Christmas bows, on the other hand, tend to be bolder, often in rich reds, greens, or golds, and might have a more structured, festive look. They can be very full and plush, suggesting luxury and celebration. Drawing a Christmas bow might involve creating more voluminous loops and perhaps adding a bit of sparkle or a glitter effect. Both coquette and Christmas bows are, in their own ways, quite distinct and offer fun drawing challenges, letting you explore different moods and purposes for your bow drawings. They are, too, very recognizable and bring a lot of character to your art.
Your Step-by-Step Bow Drawing Guide
Learning to draw a bow, as we've said, is a fun and rewarding activity. This drawing tutorial will show you how to draw a bow step by step. This lesson consists of nine steps, making it perfect for beginners. By breaking it down, you'll see that it's quite manageable, and you can, like, really build your confidence as you go. It’s about taking one small action after another, just like putting together a puzzle, so it’s not overwhelming at all.
Creating the Basic Structure
First, you want to draw a guideline for the bow. This means sketching out the general shape with very light lines. Think about where the center will be and how wide the loops will stretch. You might, for example, draw a small oval or rectangle for the central knot. Then, from this central point, sketch out the rough shape of the two main loops, one on each side. These should be, in a way, like slightly flattened circles or ovals. Don't press too hard with your pencil here, as these are just guides. This initial outline, it really helps to establish the overall proportion and balance of your bow, which is, you know, pretty important for a good drawing.
Next, you'll want to outline the general shape of the bow more clearly. This means going over your light guidelines with a slightly firmer hand, giving more definition to the loops and the central knot. You're basically turning your rough sketch into a more solid form. Make sure the loops look full and rounded, or whatever shape you're aiming for. This step is about refining those initial ideas into something that looks like a proper bow, and it’s a very satisfying part of the process, too.
Adding the Finer Details
Once you have the main shape, it's time to add the knot and show, with smooth lines, the direction of the ribbon ends. The knot is the little bit in the middle where the ribbon crosses over itself. You can draw this as a small, slightly squished rectangle or a simple oval, depending on the bow's style. From there, draw the two ribbon ends that hang down from the bow. These should flow naturally, maybe curving gently or having a slight flutter, just like real fabric would. You can make them long or short, pointed or notched, depending on the look you are going for, and that, is that, a really fun way to personalize your bow.
Now, you'll want to add some internal lines to suggest the folds and creases in the ribbon. Ribbons aren't flat, so showing where they bend and overlap gives your bow a three-dimensional look. For instance, you might draw a line inside each loop where the ribbon folds back on itself. These lines don't need to be perfectly straight; they should follow the curve of the ribbon. This step, you know, really brings your bow to life, making it look like a piece of fabric rather than just a flat shape. It’s a very important part of making your drawing seem real.
Applying Finishing Touches
After you've got the main details in place, it's time to perfect the shape of the bow. This means going over your lines one last time, making them cleaner and more confident. Erase any of your initial light guidelines that are still showing. You can also add shading to give your bow more depth. Think about where the light would hit the bow and where shadows would fall, especially in the creases and under the loops. Shading, in a way, makes your bow look like it's popping off the page, which is, you know, pretty cool.
Finally, you can add any extra decorative elements you like. This could be polka dots, stripes, or even tiny floral patterns on the ribbon. If you're drawing a Christmas bow, you might add some subtle glitter effects with your pencil or coloring tools. For a coquette bow, maybe a very fine, delicate outline. This is where your creativity can really shine, allowing you to make each bow unique. Remember, these easy bow drawing ideas will help you create something truly special, and it’s all about having a bit of fun with it, too.
Tips for Beautiful Bow Drawings
To make your bow drawings truly stand out, there are a few simple tips that can, you know, really make a difference. These are not complex tricks, but rather ways to approach your drawing that help you improve over time and enjoy the process even more. It’s about building good habits and, well, just letting your creativity flow a little bit.
Practice Makes Perfect
Like any skill, drawing a bow gets easier and looks better with practice. Don't expect your first few attempts to be masterpieces; that's just not how learning works. The more you draw bows, the more comfortable you'll become with their shapes, folds, and proportions. Try drawing bows of different sizes and in different positions. Doodle them in a notebook, sketch them on scrap paper, or even try drawing them from memory. Each time you draw, you're building muscle memory and improving your eye for detail. This consistent effort, it really pays off in the long run, making your future drawings much more confident, and that, is that, a truly rewarding feeling.
Consider dedicating a short amount of time each day, just ten or fifteen minutes, to bow drawing. This regular practice, even if it's brief, is more effective than trying to do one long session once a week. You'll find your hand becomes steadier, and your understanding of how ribbons behave will deepen. Remember, learning to draw a bow is a fun and rewarding activity, and the more you do it, the more fun it becomes, too.
Using References for Inspiration
Looking at real bows or pictures of bows can be a huge help. This is, you know, a common practice for artists of all levels. Pay attention to how the light hits the fabric, how the ribbon folds, and how the loops naturally fall. You can find inspiration everywhere: on gifts, in fashion magazines, online, or even just by tying a ribbon yourself and observing it. Don't be afraid to study these examples; they provide valuable insights into creating realistic and appealing bow drawings. It’s a bit like having a guide, just to make sure you’re on the right track.
When you use references, you are, in a way, training your eye to see the subtle nuances that make a bow look authentic. You might notice how a satin ribbon reflects light differently than a grosgrain one, or how a stiff bow holds its shape compared to a floppy one. These observations, well, they can inform your drawing and add a lot of depth to your work. So, keep an eye out for bows in your everyday life, as they can be a source of endless inspiration, and that, is that, a really neat way to learn.
Creative Applications for Your Bows
Once you feel good about your bow drawing skills, think about all the ways you can use them! Bows are, as a matter of fact, incredibly versatile decorative elements. You can add them to greeting cards, personalizing them for friends and family. They look great on gift tags, making presents feel extra special. In illustrations, they can adorn characters, decorate backgrounds, or be a central focus themselves. If you want to doodle bows in a notebook to channel the coquette aesthetic, you can totally do that too.
You can also experiment with different mediums. Try drawing bows with colored pencils, markers, or even paint. Use them as part of a larger design, like a decorative border or a repeating pattern. The possibilities are, honestly, pretty endless. These easy bow drawing ideas will help you create something wonderful, and you'll find that having this skill really opens up a lot of creative avenues for your art. Learn more about drawing techniques on our site, and perhaps try adding your newly drawn bows to other decorative elements you create.
Frequently Asked Questions About Bow Drawing
People often have a few questions when they start learning how to draw bows. Here are some common ones, just to help you out a little bit.
How do you draw a simple bow?
To draw a simple bow, you typically begin with a small shape for the central knot. Then, you sketch out two loops extending from the knot, one on each side, like rounded triangles or ovals. Finally, you add two trailing ribbon ends hanging down from the bottom of the knot. Keep your lines light at first, then refine them. It's really about building it up in stages, you know, so it's not too much at once.
What is the easiest way to draw a bow?
The easiest way, arguably, is to focus on the basic shapes first. Start with a small rectangle or oval for the knot. Add two "ear" shapes for the loops, making sure they look somewhat symmetrical. Then, just add two simple strips for the tails. Don't worry about perfect realism right away; focus on getting the general form down. This approach, it really simplifies the process, making it very approachable for anyone, you know, just getting started.
How do you draw a bow knot?
Drawing the bow knot is, in a way, quite straightforward. It's the part where the ribbon crosses over itself in the middle. You can represent it as a small, slightly squished rectangle or a compact oval. Sometimes, you might draw two small, overlapping triangles to show the ribbon folding. The key is to make it look like the loops and tails are emerging from this central point, giving the bow a cohesive look. It’s a very small detail, but it makes a big difference, honestly.
Bows Drawing at GetDrawings | Free download

How to Draw a Christmas Bow - HelloArtsy
Christmas Bow Drawing
