Are you looking for an easy-to-make, delicious dessert that will impress your family and friends? Look no further than Oreo balls! These delightful treats are a perfect combination of creamy, crunchy, and chocolatey goodness. Whether you're preparing for a special occasion or simply craving something sweet, Oreo balls are a no-bake dessert option that is quick to assemble and always a crowd-pleaser. In this article, we will guide you through everything you need to know about making these scrumptious treats while ensuring the content is SEO-friendly and adheres to Google's E-E-A-T and YMYL guidelines.
Oreo balls have gained immense popularity over the years, thanks to their simplicity and versatility. With just a few ingredients, you can whip up a batch of these bite-sized delights in no time. This article will cover the history of Oreo balls, step-by-step instructions for making them, variations to suit different tastes, and tips to ensure your creations turn out perfectly every time. By the end of this guide, you'll be equipped with all the knowledge you need to master the art of making Oreo balls.
Not only are Oreo balls incredibly tasty, but they are also a great way to get creative in the kitchen. From adding festive decorations for holidays to experimenting with different coatings and mix-ins, the possibilities are endless. Whether you're a seasoned baker or a beginner, this dessert is sure to become a staple in your recipe collection. Let’s dive into the world of Oreo balls and discover why they are a must-try treat!
Read also:Guide To Acquiring The Leviathan Shield In Blox Fruits
- History of Oreo Balls
- Ingredients and Tools You'll Need
- Step-by-Step Instructions for Making Oreo Balls
- Creative Variations to Try
- Tips for Perfect Oreo Balls
- Healthier Alternatives for Oreo Balls
- Serving and Storing Oreo Balls
- Common Mistakes to Avoid
- Fun Facts About Oreo Balls
- Conclusion
History of Oreo Balls
Oreo balls, despite their recent surge in popularity, have a relatively short history compared to other classic desserts. The exact origin of Oreo balls is unclear, but they are believed to have emerged as part of the no-bake dessert trend that gained traction in the late 20th century. This trend was fueled by the desire for quick, easy, and delicious treats that required minimal effort and no oven usage.
The concept of combining crushed cookies with cream cheese to form bite-sized balls coated in chocolate is simple yet ingenious. Over time, Oreo balls have evolved from a basic recipe to include a wide range of variations, from festive decorations to unique flavor combinations. Today, they are a staple at parties, holidays, and family gatherings, loved by both kids and adults alike.
Ingredients and Tools You'll Need
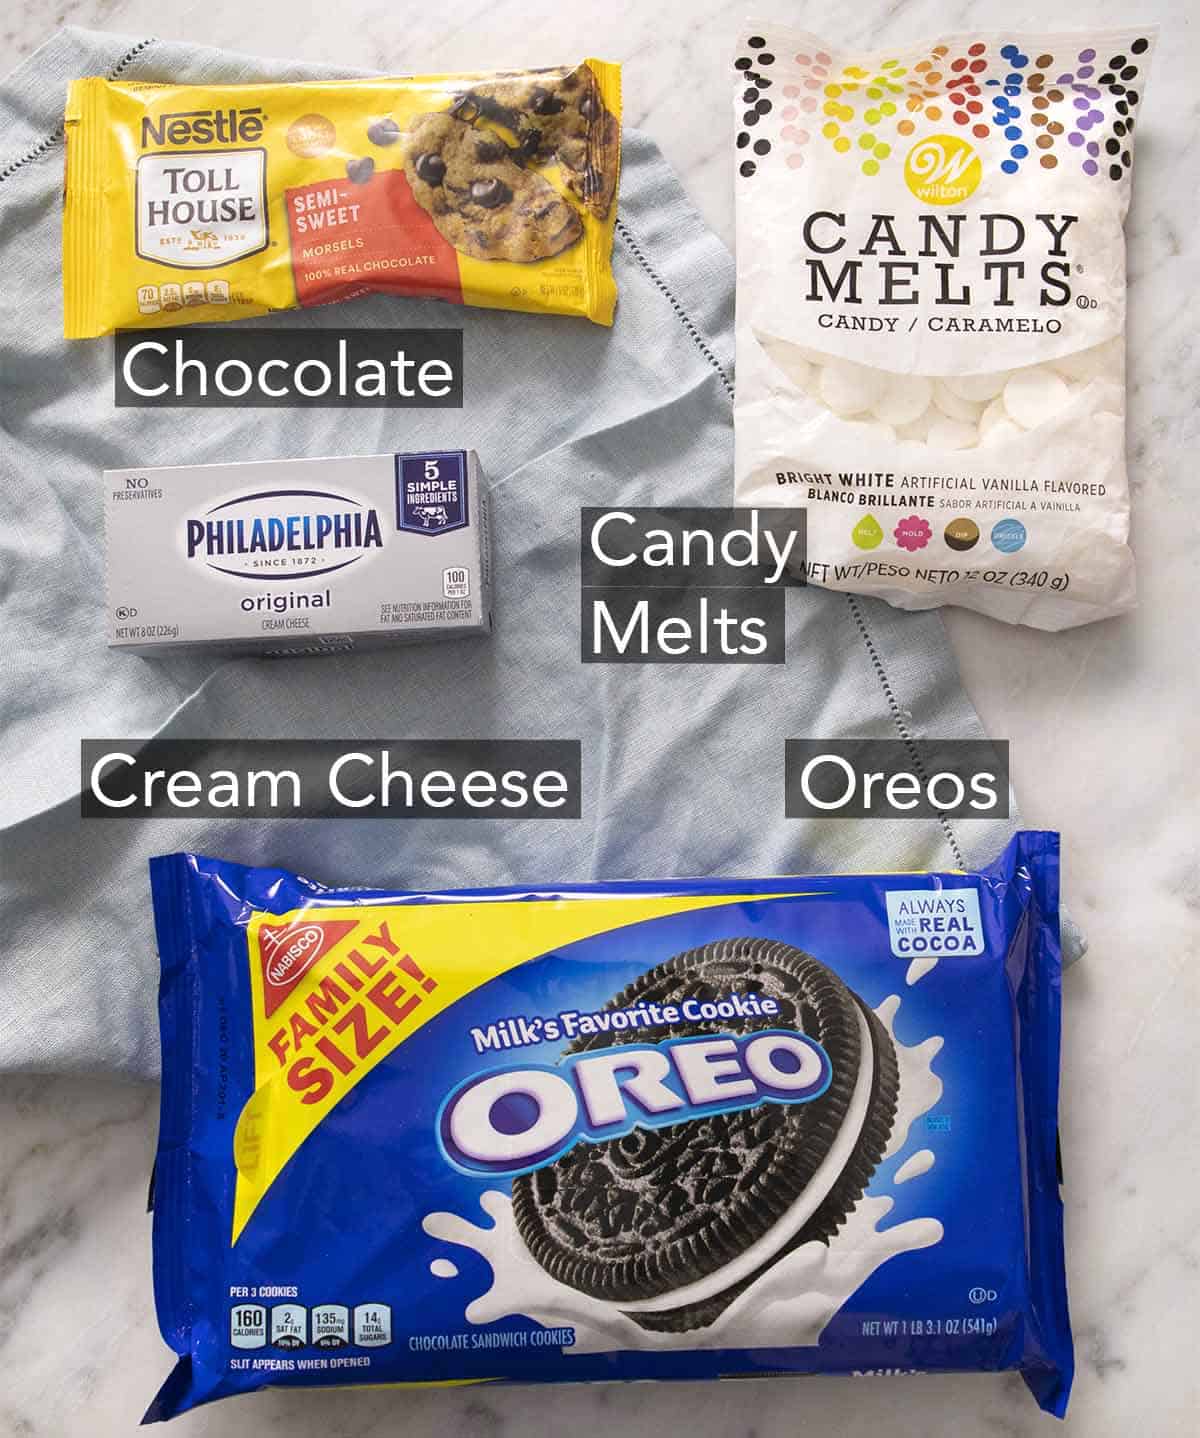
Before you start making Oreo balls, it’s essential to gather all the necessary ingredients and tools. Here’s a list to help you get started:
- Oreo cookies: The star of the show! You’ll need a full package of Oreo cookies, finely crushed.
- Cream cheese: Acts as the binding agent to hold the Oreo crumbs together.
- Melting chocolate: Choose high-quality chocolate chips or candy melts for coating the balls.
- Optional toppings: Sprinkles, crushed nuts, or drizzled chocolate can add extra flair.
Tools You’ll Need
- Food processor or zip-top bag and rolling pin for crushing cookies.
- Mixing bowl for combining ingredients.
- Baking sheet lined with parchment paper for shaping the balls.
- Microwave-safe bowl for melting chocolate.
Step-by-Step Instructions for Making Oreo Balls
Follow these simple steps to create your own batch of Oreo balls:
- Crush the Oreos: Use a food processor to finely crush the cookies, or place them in a zip-top bag and crush with a rolling pin.
- Mix with Cream Cheese: In a mixing bowl, combine the crushed cookies with softened cream cheese until the mixture holds together.
- Shape the Balls: Roll the mixture into small, uniform balls and place them on a baking sheet lined with parchment paper.
- Chill the Balls: Refrigerate the shaped balls for at least 30 minutes to firm them up.
- Melt the Chocolate: Melt your chosen chocolate in a microwave-safe bowl, stirring frequently to avoid burning.
- Coat the Balls: Dip each ball into the melted chocolate, ensuring it’s fully coated, and place it back on the baking sheet.
- Add Toppings: While the chocolate is still wet, sprinkle your desired toppings for added flavor and decoration.
- Set the Chocolate: Allow the chocolate to harden by refrigerating the balls for an additional 15–20 minutes.
Creative Variations to Try
One of the best things about Oreo balls is their versatility. Here are some creative variations to try:
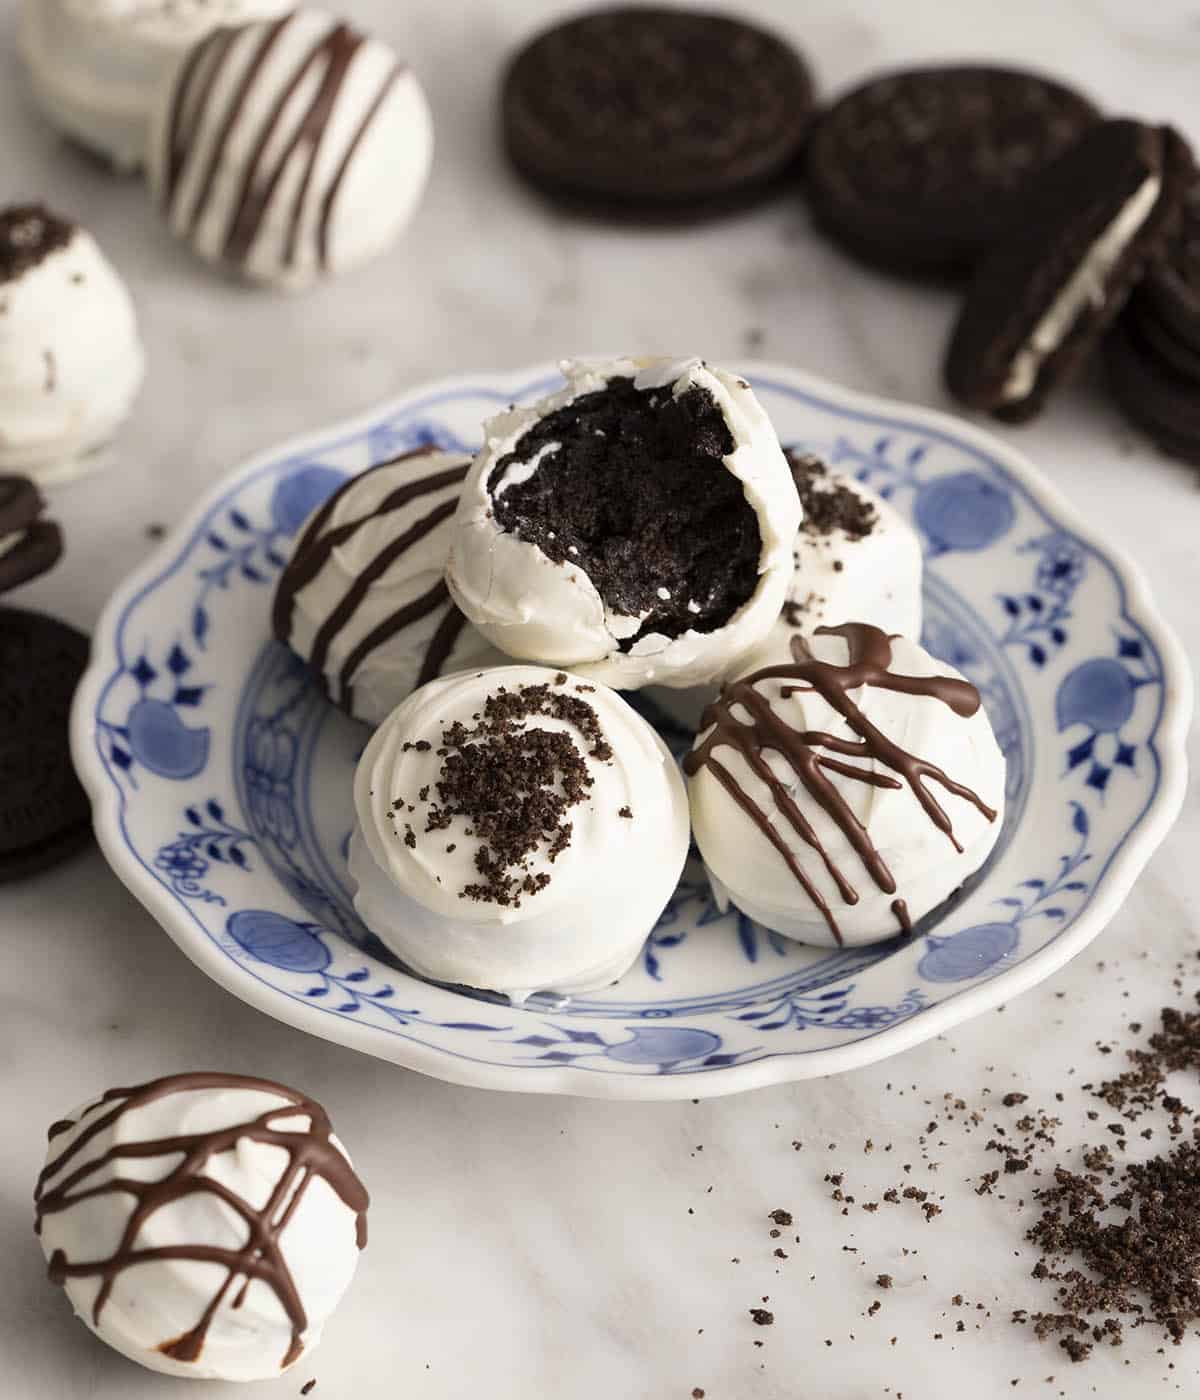
- White Chocolate-Coated Oreo Balls: Swap dark chocolate for white chocolate for a sweeter twist.
- Peanut Butter Oreo Balls: Add a spoonful of peanut butter to the Oreo mixture for a rich, nutty flavor.
- Festive Oreo Balls: Use colored candy melts and sprinkles to match holidays like Christmas, Valentine’s Day, or Halloween.
- Drizzled Oreo Balls: After coating the balls in chocolate, drizzle them with contrasting chocolate for a decorative touch.
Healthier Alternatives for Oreo Balls
If you're looking for a healthier version of Oreo balls, consider substituting some ingredients:
Read also:Allied Universal Security Lisa A Comprehensive Guide To Excellence In Security Services
- Use reduced-fat cream cheese or Greek yogurt to lower the calorie count.
- Opt for dark chocolate with a high cocoa content for added antioxidants.
- Add crushed almonds or chia seeds for extra texture and nutrients.
Tips for Perfect Oreo Balls
To ensure your Oreo balls turn out perfectly every time, keep these tips in mind:
- Chill Before Coating: Always refrigerate the balls before dipping them in chocolate to prevent them from falling apart.
- Use High-Quality Chocolate: This ensures a smooth coating and better flavor.
- Work in Batches: Coat a few balls at a time to prevent the chocolate from hardening too quickly.
- Experiment with Flavors: Don’t be afraid to try new combinations to keep things exciting.
Serving and Storing Oreo Balls
Oreo balls are best served chilled, making them a refreshing treat, especially during warmer months. Arrange them on a platter for parties or package them in decorative boxes as gifts. To store, keep them in an airtight container in the refrigerator for up to one week. For longer storage, you can freeze them for up to three months. Simply thaw in the refrigerator before serving.
Common Mistakes to Avoid
While making Oreo balls is straightforward, there are a few pitfalls to watch out for:
- Overmixing the Dough: This can make the balls too dense.
- Skipping the Chilling Step: Chilling is crucial for firming up the balls before coating.
- Using Low-Quality Chocolate: This can result in a dull or grainy coating.
Fun Facts About Oreo Balls
Here are some interesting tidbits about Oreo balls that you might not know:
- Oreo balls are sometimes referred to as "Oreo truffles" due to their rich, truffle-like texture.
- They are a popular choice for holiday gift-giving, as they are easy to package and personalize.
- Oreo balls can be customized to suit dietary preferences, such as gluten-free or vegan diets.
Conclusion
Oreo balls are a delightful dessert that combines simplicity, versatility, and irresistible flavor. Whether you’re a beginner or an experienced baker, this no-bake treat is sure to impress. By following the steps and tips outlined in this article, you can create perfect Oreo balls every time. Don’t be afraid to experiment with flavors and decorations to make them your own!
We hope this guide has inspired you to try making Oreo balls at home. Share your creations with friends and family, or leave a comment below to let us know how your batch turned out. For more delicious recipes and baking tips, explore our website and discover your next favorite treat!